
AI photo editing guide
How to Remove Any Object from a Photo with AI — Cleanly, Fast, and Without Visible Edits
AI object removal makes it possible to delete unwanted items from a photo in seconds, even if you have zero editing experience.
This guide explains how the process works, how to write better instructions, and how to get realistic results that do not look obviously edited.



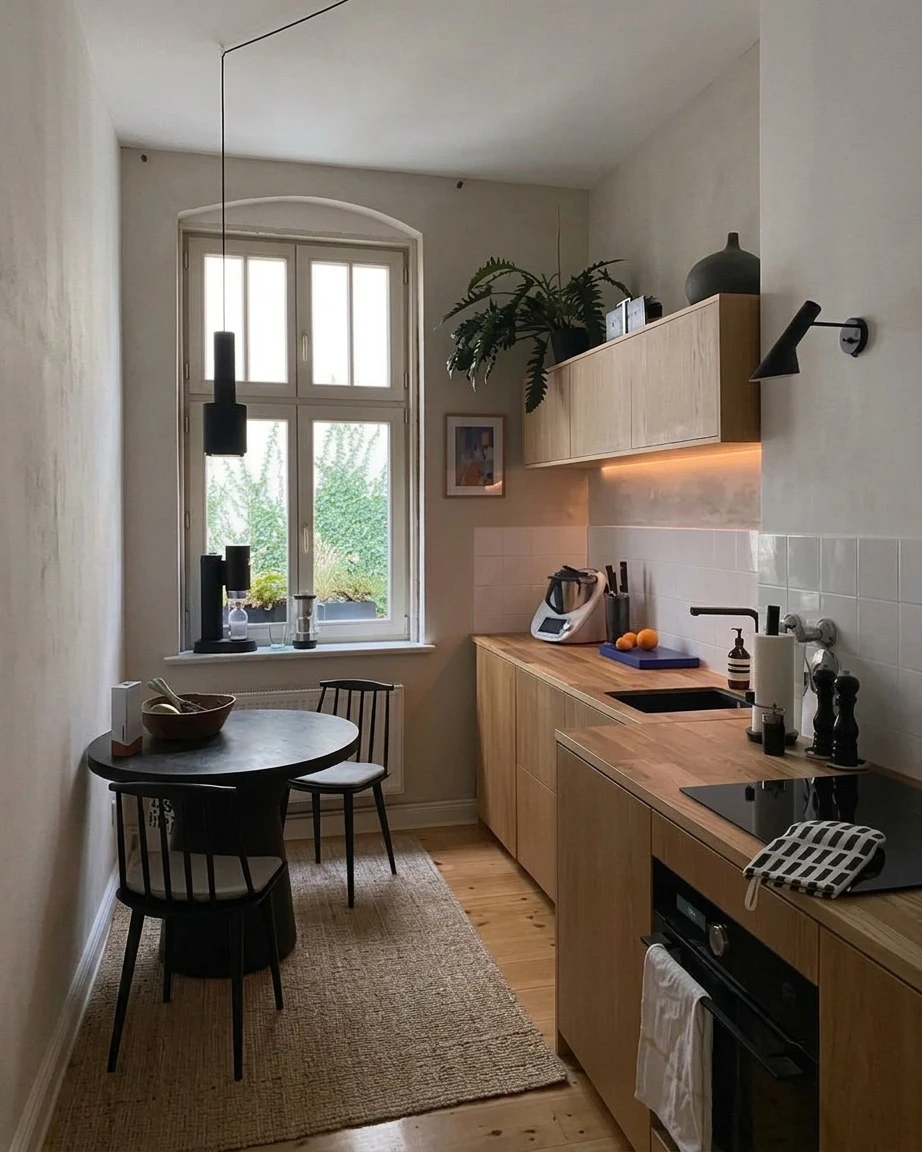
Transformed with AI by Uniify
What Is AI Object Removal in Photos?
AI object removal is a photo editing process where an AI model identifies an unwanted element in an image and reconstructs the missing area so the scene still looks natural. Instead of manually cloning textures or repainting the background, you describe what should disappear and the tool fills the gap automatically.
This is useful when you want to remove a cabinet from a room photo, hide furniture, clean up a backyard shot, or erase a distracting object from an exterior image before publishing or presenting it.
- Requires layer-based software
- Often needs masking and retouching skill
- Slower for non-designers
- Easy to leave visible repetition or blur
- Fast and prompt-driven
- Accessible to beginners
- Works well for common scenes
- Best when instructions are specific
- Interiors
- Exteriors
- Backyards and outdoor spaces
- Simple clutter removal
- Complex reflections
- Dense repeating patterns
- Overlapping shadows
- Large removals near important edges
Step-by-Step: How to Remove Any Object from a Photo
1. Upload your image
Start by uploading the image into your AI editing tool. It can be an interior, exterior, backyard, or any other scene where a single object needs to be removed.
2. Select the object to remove
Choose the exact area you want edited. Do not describe the whole photo if only one element is unwanted. A tighter selection usually gives the AI a cleaner task.
Good examples of removable objects: a cabinet, chair, plant pot, side table, storage bin, wall accessory, outdoor item, or other visual distraction.
3. Write a clear instruction
After uploading the image, tell the AI exactly what should be removed and what should stay untouched.
Remove the cabinet. Keep the wall, floor, lighting, and the rest of the room unchanged.
4. Keep the background consistent
The most important part of a realistic result is background continuity. When you tell the AI to preserve the surrounding surfaces, it is less likely to invent extra objects or alter the style of the image.
- Preserve the scene structure
- Avoid visible artifacts
- Reduce the chance of AI over-editing
- Make the result look invisible rather than generated
5. Generate the result
Click the generate button and let the tool process the edit. In many everyday cases, the edited version is ready in a few seconds.
How to Write Better Instructions for AI Object Removal
The quality of the result depends heavily on the wording of your instruction. Vague requests invite the model to reinterpret the whole image. Precise requests narrow the edit and preserve realism.
Remove this.
Too ambiguous. The AI may guess incorrectly or modify nearby content.
Remove the cabinet on the left side. Keep the wall texture, floor pattern, perspective, and lighting unchanged.
Specific object, clear location, clear preservation rule.
A strong instruction usually contains three parts:
- The object: what should disappear.
- The location: where it is in the image.
- The constraint: what must remain unchanged.
Remove [object] from [location]. Keep the background, lighting, and everything else unchanged.
How to Get Realistic Results
If your goal is an edit that does not look edited, realism matters more than speed. The best results usually come from small, focused changes with clear constraints.
- Clearly describe the exact object
- Add a phrase like “don’t change anything else”
- Keep the background logical for the scene
- Check edges where walls, floors, shadows, or furniture lines meet
- Regenerate once if the first result introduces texture artifacts

- No obvious blur patch
- No duplicated textures
- Edges remain straight and believable
- Lighting still matches the rest of the image
- Warped floor or wall patterns
- Shadow mismatch
- Invented objects or strange shapes
- Visible smoothing where detail should remain
Why Clear Instructions Matter
AI tools can remove only the target object, but only when the instruction makes that boundary clear. If the tool asks whether anything else should change, the safest response is to explicitly limit the edit.
Don’t change anything else.
That simple sentence helps the AI understand that it should:
- remove only the selected object
- keep the rest of the photo untouched
- avoid unnecessary style changes
- preserve the original scene identity
This matters especially for real estate visuals, product imagery, renovation concepts, and any image where trust depends on the edit looking subtle and believable.
Processing Time and What to Expect
In many cases, AI object removal takes about 10 to 20 seconds. The exact time depends on image resolution, the size of the removed object, and how complex the surrounding background is.
- Small object
- Simple wall or sky background
- Clean lighting
- Large furniture removal
- Detailed textures or tiles
- Busy outdoor scenes
Before and After: What Changes?
Most AI tools show a side-by-side or toggle comparison so you can review the result immediately. This is the fastest way to catch issues that are easy to miss during generation.
- Before: the original photo with the unwanted object still visible
- After: the edited version with the object removed and the background reconstructed
When reviewing the result, pay special attention to corners, shadows, floor lines, and repeating textures. These details often reveal whether the edit is genuinely clean.
Frequently Asked Questions
Can AI remove any object from a photo?
In many cases, yes. It works especially well for isolated objects and clean backgrounds. Highly complex scenes may require a second generation or a more precise instruction.
Do I need Photoshop or editing skills?
No. AI object removal is designed to simplify the process. The most important skill is giving a precise instruction.
What should I say to avoid unwanted edits?
Use a direct constraint such as: “Remove the cabinet and don’t change anything else.”
Why does the result sometimes look fake?
Usually because the prompt was too broad, the object overlapped with complex textures, or the scene required more exact preservation instructions.
What types of images work best?
Interior photos, exterior shots, and backyard images with clear lighting and visible background structure tend to produce the most reliable results.
References
- Schema.org — Article and FAQPage structured data vocabulary.
- Unsplash — illustrative editorial images used for visual support; verify current asset-level license and attribution requirements on the original image pages before publication.