
Hands-on AI Editing
How I Actually Remove Furniture From a Photo With AI
I started doing this because I needed empty-room shots fast and did not want to spend half a day in Photoshop. The good news: AI can get you there in a few clicks. The less fun part: the result depends a lot on the photo you feed it.
This is the version I wish someone had given me earlier — what works, what usually breaks, where I wasted time, and how to get to a clean room image without turning it into a science project.



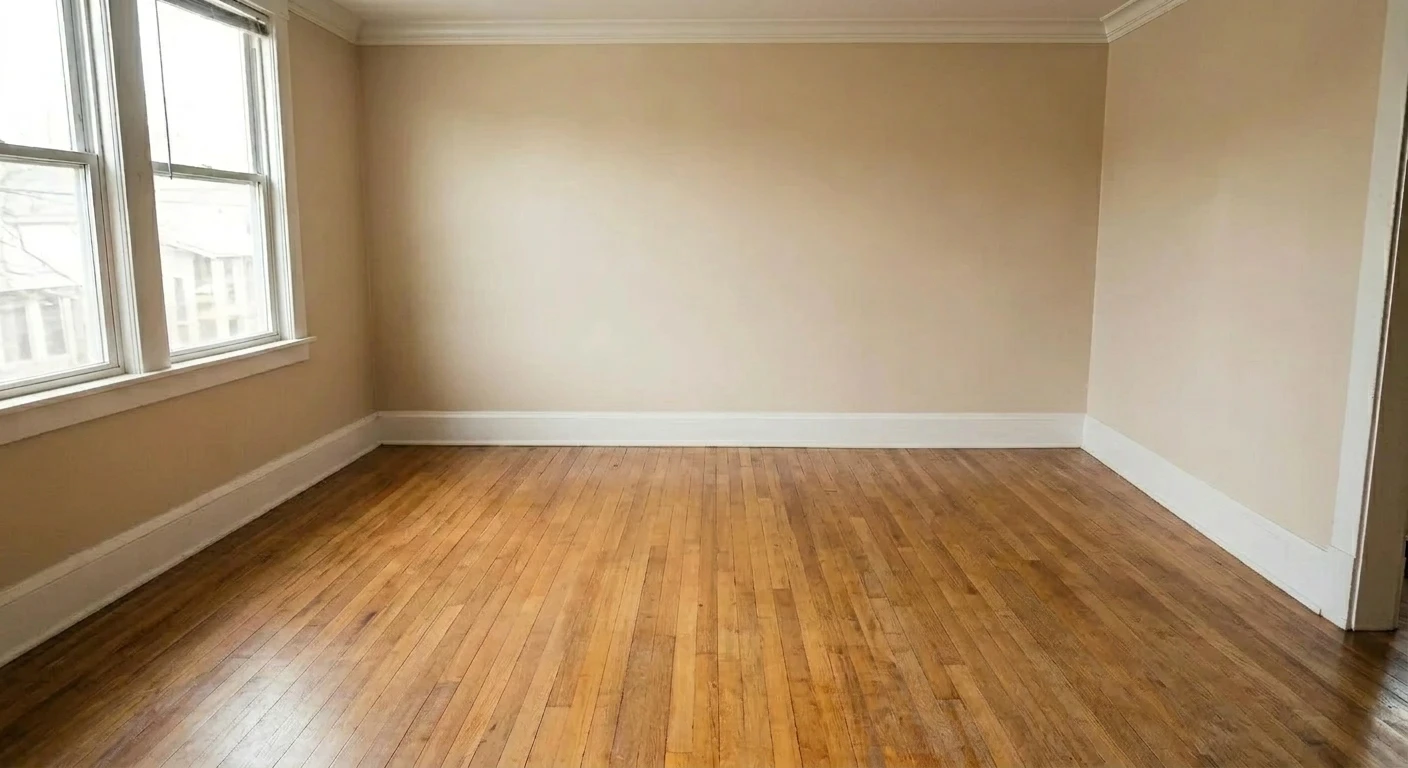
Transformed with AI by Uniify
What the tool is really doing
The first time I used this, I thought it was just deleting the couch and calling it a day. That is not really what is happening. The tool has to spot the furniture and then guess what the room should look like behind it — floor, wall, corners, shadows, all of that.
That explains why some images come back looking weird in tiny spots. The AI is not only removing things. It is rebuilding missing parts of the room, and sometimes it guesses better than other times.
What the process feels like in real life
The workflow I ended up using
After a couple of bad first tries, I stopped hunting for complicated settings and just followed the shortest path. On Uniify, the cleanup tool sits inside the Enhancement area under ReMove, and once you know that, the whole thing becomes very straightforward.
- Go to Uniify.Space. I usually start with one interior photo and nothing else.
- Upload the image. Use the cleanest version you have, not the compressed one from a random chat app.
- Scroll to the Enhancement section. This is the step I somehow missed the first time.
- Click Remove Furniture. After that, the processing starts on its own.
- Wait a bit. In my tests it usually feels like around 20–30 seconds, give or take.
- Review the result properly. I look at corners, baseboards, shadows, and floor texture before I decide it is done.
The short version: open Uniify.Space, upload the room photo, go to Enhancement, click Remove Furniture. That is the whole path I use now.
What improved my results
The biggest improvement did not come from some hidden trick. It came from feeding the tool better photos. Once I stopped uploading dark, messy images and started using brighter, straighter shots, the output got a lot more believable.
Use a bright, straight photo
This mattered more than I expected. Clear wall lines and visible flooring make the rebuild look much more natural.
Leave some room context visible
If the AI can still see parts of the floor, baseboard, or wall around the furniture, it has something solid to work from.
Do not trust blurry images
I tried it anyway. It was a mistake. Blur makes the room look soft, and then the empty areas come back soft too.
The mistakes that kept showing up
- Big beds or rugs hiding most of the floor: there just is not much left for the tool to rebuild from.
- Mirrors and reflections: this is where things can get strange fast.
- Furniture pushed right into the wall: the AI has to invent corners and baseboards it cannot really see.
- Too much clutter sitting on furniture: lots of overlapping objects usually means a messier result.
The check that saves me most often is boring but useful: zoom in on the edges. The center of the room can look perfect while one baseboard or shadow gives the whole edit away.
AI vs doing it by hand
I still think manual editing wins in very tricky rooms, but for everyday work I almost always try AI first. It is simply faster, and in a lot of cases that speed matters more than total pixel-level control.
AI furniture removal
This is what I use when I need a quick empty room, a listing image cleaned up, or a base for staging. It is faster, easier, and good enough for a lot of practical work.
Manual retouching
I save this for problem images — reflections, luxury finishes, weird geometry, or when I need the final polish to hold up under close inspection.
What I actually do
My rule now is simple: run AI first, inspect the result, and only switch to manual cleanup if the room has obvious artifacts or the architecture matters a lot.
AI first → inspect edges → rerun if needed → manual touch-up only when the image really needs it
What I do after removal
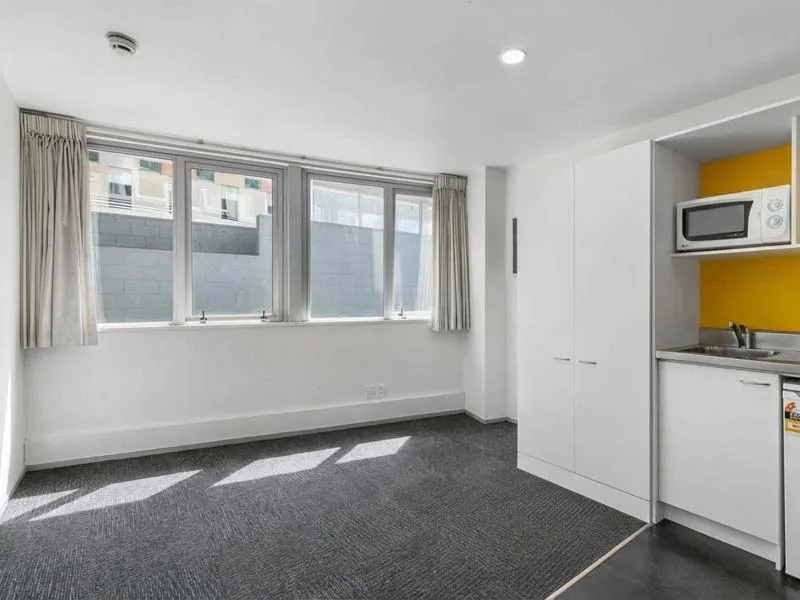
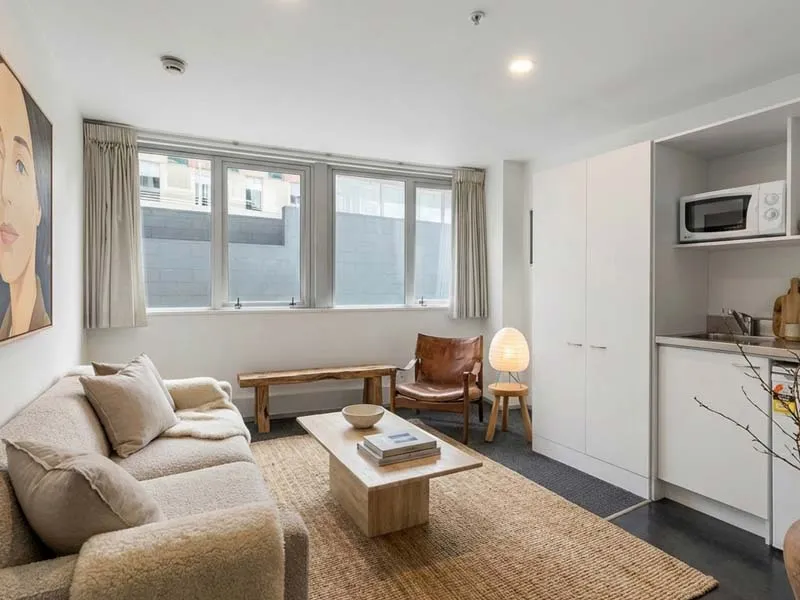
This was another thing I learned late: removing the furniture is usually not the end of the job. It is the setup. Once the room is empty, you suddenly have a useful base image for staging, redesign, renovation mockups, or just a cleaner listing photo.
So now I treat the empty-room result as a starting point, not the final masterpiece.
1. Get the clean base
2. Build the next version on top
Where I go next from there
- Real estate staging: add a more neutral, buyer-friendly setup after clearing the room.
- Renovation planning: test finishes, colors, and layout ideas without shooting the space again.
- Interior approvals: show different directions from the same base image.
- Marketing cleanup: use the emptied room when the original furniture is distracting, dated, or just not helping.
Where this is actually useful
Real estate listings
This is probably the most obvious use. Buyers read the space faster when old or bulky furniture is gone.
Interior redesign
An empty room is easier to rethink. You can test ideas without fighting the original setup.
Renovation pitches
It is much easier to sell a before-and-after idea when the “before” is cleaned up first.
One thing I would not ignore
If you are using AI-edited room images in real estate or marketing, keep the original and be sensible about disclosure. Cleaning up a photo is one thing. Making a space look materially different is another.
Why this workflow stuck for me: Uniify keeps the upload, cleanup, and follow-up design steps in one place, so I can go from furnished room to empty room to a new concept without bouncing between tools.
FAQ
Can AI really remove all the furniture automatically?
A lot of the time, yes. But “all” depends on the photo. Bright rooms with clear edges usually work best. Dense clutter, reflections, and hidden corners are where things can fall apart.
How long does it usually take?
Usually around 20 to 30 seconds from what I have seen, though it can vary depending on the image and how busy the system is.
Do I need Photoshop skills for this?
No, and that is the whole point for most people. The tool is useful because it skips the manual masking and cleanup work in standard room photos.
Why do some shadows or objects still remain?
Because the AI is guessing what should be behind those objects. When the room gives it weak visual clues, the guesses can look a little off.
What kind of photo works best?
A bright, sharp image with visible floor area and straight lines. The more the room is readable, the better the empty version tends to look.
What do I do after the room is cleared?
First I inspect it closely. Then I either download the clean version or use it as the base for staging, redesign, or a renovation concept.
References
- Uniify.Space official site — product workflow, Enhancement/ReMove tools, and platform feature structure.
- Adobe Firefly: Remove object from photo — useful background on AI object removal and context-aware filling.
- Adobe Photoshop: What is inpainting? — high-level explanation of how missing image areas are reconstructed.
- California Department of Real Estate advisory — market-specific reference point for disclosure expectations around digitally altered real-estate images.