
AI home visualization guide
I tried previewing a new TV in my room with AI before buying one
I hit that point where I was staring at product pages, comparing 55, 65, and 75 inches, and still had no clue what any of it would look like in my actual living room. That’s when I stopped guessing and just dropped the new TV into a photo of my real space.
What surprised me was how fast the obvious mistakes showed up. A TV that looked perfect on a store page suddenly looked too high, too wide, or weirdly heavy once it was sitting over my actual console.



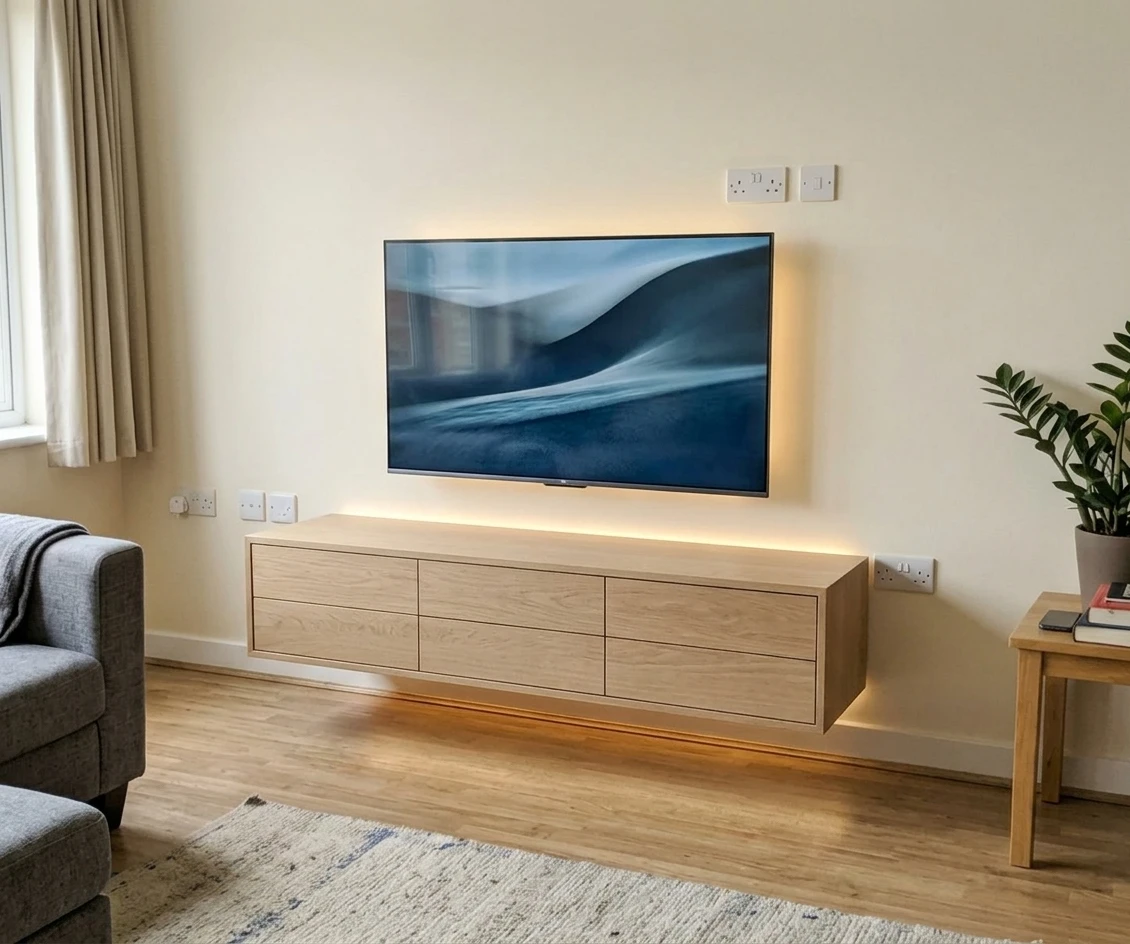
Transformed with AI by Uniify
What this method actually does
What this does, in plain English: you take a photo of the room, tell the AI which TV and console you want to swap in, and it shows you the setup inside your real space instead of some fake showroom.
That was the first useful shift for me. I wasn’t asking, “Does this TV exist?” I was asking, “Do I actually want to look at this thing on this wall every day?” Those are not the same question.
REAL ROOM PHOTO
   ↓
YOU MARK THE PROBLEM AREA
   ↓
ADD THE TV + CONSOLE YOU'RE CONSIDERING
   ↓
TELL THE AI WHAT TO CHANGE
   ↓
GET A MOCKUP BACK
   ↓
NOTICE WHAT FEELS OFF FAST
   ↓
CHECK THE REAL MEASUREMENTS AFTER
Why this helped more than another hour of comparing specs
What the mockup finally showed me
- Whether the screen looked right on that wall, not just “large enough” on paper
- Whether the console felt too narrow under it
- Whether the setup looked calm or weirdly top-heavy
- Whether the TV blended in or hijacked the whole room
What the mockup did not solve
- Exact width, height, and stand footprint
- Viewing distance from the sofa
- Mounting height
- Clearance for cables, soundbar, and nearby furniture
What you need before you start
1. A normal room photo
Nothing fancy. Just clear, bright, and honest.
2. The exact TV model
Once I stopped being vague here, the results got better.
3. The actual console or stand
This mattered way more than I expected.
4. One real measurement
Wall width, console width, or sofa distance. One anchor helps a lot.
How I learned to use the right room photo
My first mistake was using a random photo I already had on my phone. It was dark, a bit wide-angle, and taken while standing. The result technically worked, but it didn’t feel trustworthy at all.
What ended up working
- The whole TV wall is visible
- The image is sharp and not too dark
- The angle is close to how you normally sit
- You can still see enough floor, wall, and nearby furniture for scale
What kept messing things up
- Blurry photos
- Very dark corners or heavy shadows
- Extreme wide-angle shots
- Tight crops that hide the room context

How to add the TV and console you’re really considering
I also learned pretty fast that “modern black TV” is not a real instruction. If you want the result to mean anything, give the AI the exact thing you’re thinking about buying.
Why brand and model suddenly matter
Two TVs can both be 65 inches and still land very differently in a room. The bezel, the feet, the outer frame, even the way the screen sits on the console all change the read. That is why checking the exact manufacturer dimensions still matters after the mockup.[2]
What I include now
- TV brand
- TV model or series
- Exact size
- Console model
- Color or finish
- Mounted or standing setup
Why the console mattered more than I thought
- It changes the base under the screen
- It affects whether the TV feels balanced
- It changes soundbar and cable space
- It can make the whole wall feel lighter or heavier
How to write the prompt without making the AI guess
This was another place I messed up. I thought a short prompt would be enough. It wasn’t. The AI needs a very boring level of clarity if you want a useful result.
Too vague
Replace the TV.
What worked much better
Replace the current TV with the exact [brand + model + size] and replace the current console with the [console model]. Keep the room, wall, angle, and lighting the same. Make it look realistic and properly scaled.
The simple prompt structure
CHANGE:
- current TV → [brand + model + size]
- current console → [model or style + finish]

KEEP:
- same room
- same angle
- same lighting
- same wall position
- realistic proportions

GOAL:
- show me what this setup would actually feel like
How I compare the result without overthinking it
Sometimes the tool asked me follow-up questions, and honestly, that usually helped. The more exact I was, the less weird improvising happened in the final image.
Then I’d put the original and the new version next to each other. This is where I usually noticed the thing I had been missing while staring at specs.
What I actually check in the result
- Size and proportions: does the screen feel right for that wall?
- Console fit: does the stand still make sense under it?
- Height: does the TV suddenly look too high?
- Breathing room: is everything too cramped now?
- Overall balance: does the room still feel like the room?
LOOK AT THE IMAGE IN THIS ORDER

1. TV WIDTH vs WALL
2. TV HEIGHT vs EYE LEVEL
3. TV WIDTH vs CONSOLE WIDTH
4. CONSOLE HEIGHT vs SOFA
5. SPACE FOR SOUND BAR / CABLES
6. DOES THE WHOLE THING FEEL RIGHT?
Reality check: the mockup helps, but measurements still decide
This part matters because the image can feel right and still be wrong. I had one version that looked great, then I checked the measurements and realized the stand footprint would have been annoying in real life.
Viewing distance: use the mockup, then sanity-check it
Samsung gives a simple rule of thumb: screen size × 1.2 for recommended viewing distance. So a 75-inch TV comes out to roughly 90 inches, or about 2.3 meters.[2]
Sony and RTINGS frame it a little differently, but the basic idea is the same: don’t judge size in a vacuum. The room, the sofa distance, and how cinematic you want the screen to feel all matter.[3][4]
Use the AI image for
- Wall balance
- TV-to-console proportion
- Style and finish fit
- Comparing sizes quickly
Use real numbers for
- Exact fit and clearance
- Sofa distance
- Mounting height
- Final yes or no
Mounting height: this is where a good-looking mockup can still fool you
Vogel’s advice is the simple one I keep coming back to: start from seated eye level and aim for the center of the TV to be at or slightly below it.[5]
Mistakes that kept giving me bad previews
Using an old random photo
I did this first. It made the whole result feel off.
Being vague about the model
That’s how you end up judging a generic TV, not the one you’ll buy.
Changing the whole room at once
Then you stop knowing what you’re reacting to.
Forgetting the console width
This one got me more than once.
When this method is actually worth doing
- When you’re stuck between two sizes and the specs aren’t helping
- When you want to know if a bigger TV will actually overwhelm the room
- When the console is changing too
- When wall-mounting might make the screen feel too high
- When you want one honest preview before spending money
The easiest way I found to test this: use a tool that works from your actual room photo instead of from a blank template. Uniify is built around that kind of workflow: upload the image, describe what should change, and generate a new version of the same space.[1]
FAQ
Can AI really show how big a TV will feel on my wall?
Usually yes, if the photo is good and you use the exact model. I still wouldn’t skip the actual dimensions, but for spotting “too big,” “too small,” or “looks weird here,” it’s genuinely useful.
Do I really need the exact brand and model?
I would. The closer you are to the real product, the more useful the preview becomes. Once I stopped being vague, the results stopped drifting.
Should I replace the console in the same mockup?
Yes, if that is part of the plan. I tried judging them separately and it gave me false confidence.
Does this replace measuring?
No. It replaces guessing, not measuring.
What kind of photo works best?
A clean photo from roughly where you sit, with the whole TV wall visible and no weird distortion.
References
- Uniify official website: uniify.space — workflow, homeowner/interior positioning, and upload/describe/generate interface.
- Samsung Support: Recommended viewing distance for your TV — 40° viewing zone, screen size × 1.2 guidance, and reminder to check actual TV dimensions.
- Sony Support: What is the recommended viewing distance for televisions? — 4K minimum distance, 30° mixed-use guidance, and 40° cinema guidance.
- RTINGS: TV Size to Distance Calculator — mixed-use 30° recommendation and distance ÷ 1.6 shortcut.
- Vogel’s: An ideal TV wall mount height — center of screen near seated eye level.
- Hero image source: Wikimedia Commons, Living room (Unsplash) by Jarosław Ceborski — CC0 1.0.
- In-content image source: Wikimedia Commons, A flat-screen television by Evan Prodromou — CC BY-SA 4.0.
.jpg)
