
AI real estate marketing
I thought AI would fix my listing photos in one click. It didn’t.
The first time I tried this, I uploaded a dark property photo, clicked through too fast, and expected a clean listing image to pop out. What I got looked polished for about two seconds — then I noticed the room felt weirdly fake.
That was the pattern for a while. The tool was fast, but my inputs were sloppy. Once I stopped treating AI like magic and started treating it like a very literal assistant, results got much better. This guide is the version I wish I had when I started.


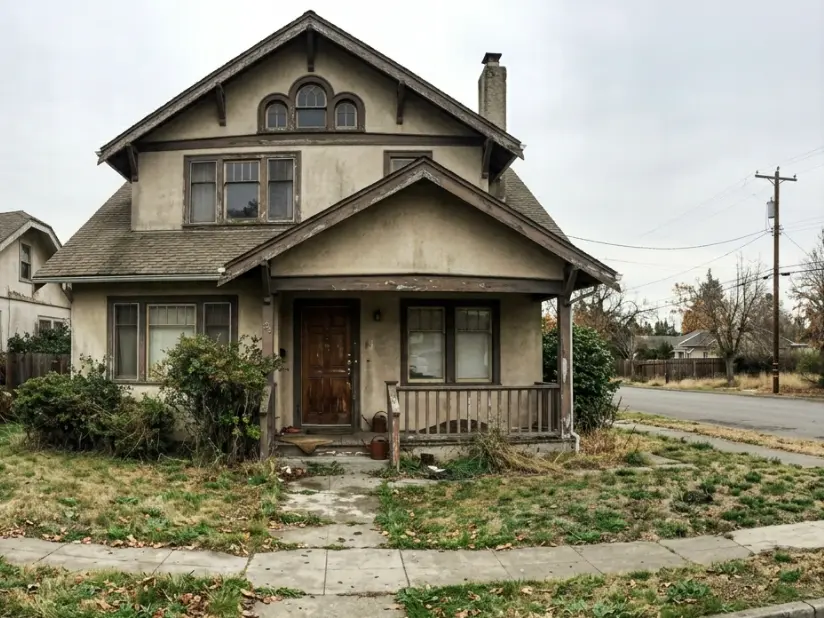

Transformed with AI by Uniify
What AI real estate photo preparation actually is
At first I thought AI photo prep meant “upload photo, get better photo.” That is technically true, but only in the same way that saying “just cook dinner” is true. The part that matters is everything in between.
What is really happening is simple: you give the system a property image, it analyzes it, then it tries to improve the image based on your instructions. If your instructions are clear, the result can look clean and listing-ready. If your instructions are lazy, the result can look shiny but wrong.
Where it helps
I found it useful for listing photos, quick marketing visuals, and fast first-pass cleanup when I did not want to edit by hand.
Where I went wrong
I expected the AI to understand taste. It doesn’t. It just follows direction, and sometimes it follows bad direction very well.
What changed things
The moment I started telling it exactly what to keep and what to improve, outputs became much more usable.
Why this matters for listings
Real estate photos do a lot of work before a buyer reads a single line of copy. I knew that in theory, but I really felt it once I saw how different the same room could look with better prep. A flat, dim image gets ignored. A clean, believable one gets attention.
The workflow is simple. That’s what fooled me.
The first few times I did this, I thought the easy part was the whole part. It isn’t.
The mistake I made early was assuming the workflow was “click button, receive quality.” After a few bad outputs, I noticed the same thing over and over: the click was easy, but the thinking part was still mine.
What worked better
Upload a decent room photo and say something like: brighten naturally, clean up minor clutter, keep layout and finishes accurate, do not change the structure.
What kept failing
Uploading a weak photo and typing “make it luxury” or “make it amazing.” That is basically asking the AI to guess, and its guesses are not always useful.
Practical takeaway: the steps are easy. The result depends on how seriously you take the instructions.
How to answer AI questions without sabotaging your own result
This is where I messed up most often. The tool would ask what I wanted, and I would answer like a tired person in a hurry: “make it brighter,” “make it nicer,” “make it premium.” The output looked exactly like that kind of instruction — vague and overdone.
Say what the task is
Listing-ready cleanup, declutter, brighter interior, cleaner kitchen shot, lighter staging look — that kind of thing.
Say what must stay real
Keep the room size, windows, floors, walls, and permanent features accurate. This matters more than people think.
Use simple words
Natural light, clean surfaces, balanced contrast, neutral tone. The simpler I got, the better the tool behaved.
Don’t outsource taste
“Make it beautiful” sounds convenient, but it usually invites weird design choices you did not actually want.
I also learned that the answer structure matters. First say what you want done. Then say what kind of look you want. Then say what cannot change.
A prompt structure that stopped me from getting weird outputs
This kind of prompt worked much better for me than anything flashy:
This sounds basic, and that is exactly why it works. It tells the system what to do, and just as important, what not to do.
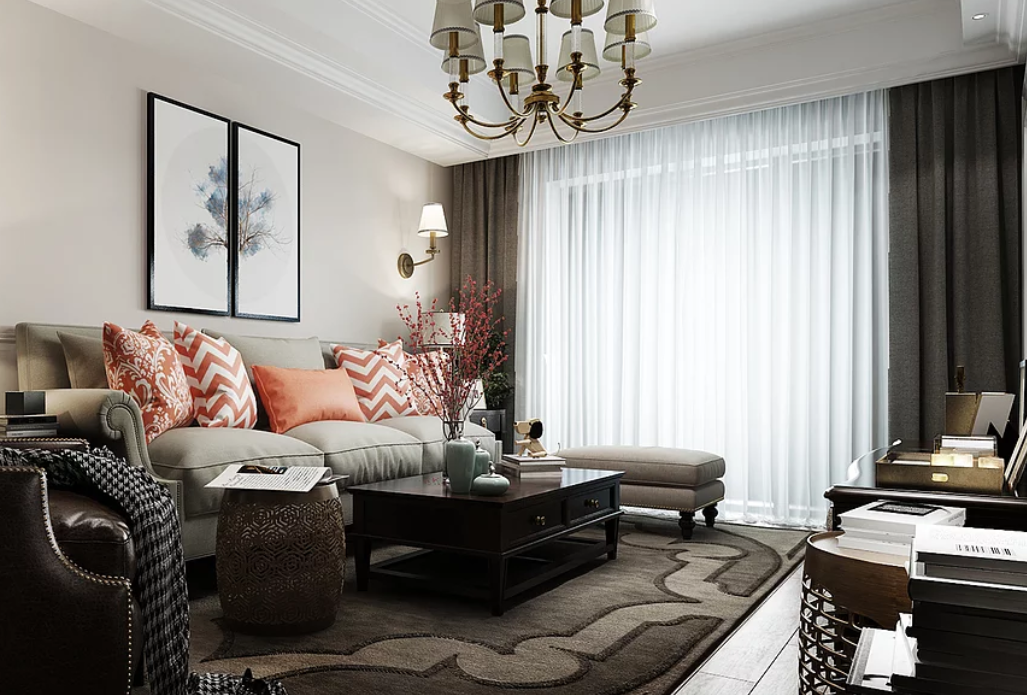
Before and after: this is where my expectations were wrong
I used to think the “after” version should always look much more dramatic. Bigger transformation, bigger win. That turned out to be wrong. Some of the best outputs were actually the subtle ones.
- Before: real, but dark, cluttered, or flat
- After: cleaner, clearer, easier to sell — but still believable
The tricky part is that “better” and “more realistic” are not the same thing. I once told the system to remove clutter, and it cleaned so aggressively that parts of the room started losing actual detail. It looked neater, but it also looked less true.
What usually helps
Brightness correction, small cleanup, less distraction, clearer light, stronger visual balance, and a more organized room feel.
What starts looking wrong
Fake finishes, invented views, altered room proportions, over-staging, or anything that makes the place look better than it really is.
Main insight: the best result is usually not the one that looks most edited. It is the one that makes the buyer trust what they are seeing.
Mistakes I kept making until I finally stopped
Starting with a bad photo
I wanted AI to rescue weak images. Sometimes it helped, but mostly it just polished the weakness.
Being too vague
When I typed broad instructions, the tool filled in the blanks on its own. That is rarely where the best results came from.
Rushing the process
I kept treating the wait time like a nuisance. In reality, the short generation step is where the useful refinement happens.
Trusting the first output
I learned to check corners, windows, floor lines, fixtures, and room scale. The first result is not always the safe one.
Thinking more style = more quality
Some properties just need clean and clear. Trying to force a luxury mood onto every photo made things worse.
Assuming AI understands intent
This is the big one. It doesn’t understand what you meant. It responds to what you actually said.
Where to be careful
This part became more obvious the more I used these tools: there is a line between improving a listing photo and changing what the property really is. The line can move faster than you expect.
Usually fine
- better brightness
- cleaner color balance
- minor decluttering
- straightening and cropping
- small presentation improvements
Where it gets risky
- changing finishes that are really there
- removing defects that matter
- making the room feel larger than it is
- adding features or views that do not exist
- turning a concept into something that looks current and real
Where Uniify fits
If you want this workflow to feel less scattered, Uniify makes sense as the place where you upload the photo, move into the AI tools, answer the prompt questions, and generate a cleaner listing-ready result without bouncing between too many steps.
That is what I ended up caring about most anyway — not just whether AI could edit the image, but whether the whole process felt fast enough and simple enough to repeat without making the same dumb mistakes every time.
FAQ
What is AI real estate photo preparation?
It is using AI to improve a property photo so it looks cleaner, brighter, and more listing-ready based on your instructions.
Why do AI-edited photos sometimes look fake?
Usually because the source image was weak, the prompt was vague, or the edit pushed too far past what the real room looks like.
What matters most: the original photo or the prompt?
Both matter. A weak source photo limits the ceiling, and a weak prompt makes the tool guess. Good output needs both decent input and clear direction.
How long should generation take?
A short wait is normal. In practice, around 20 to 30 seconds can be enough for the tool to process and refine the image.
What was the biggest lesson?
AI is fast, but it is not magically good. It gets better when your instructions get better.