
AI Flooring in a Real Room
How to Use AI to Compare Hardwood vs Laminate Flooring Before You Buy
I honestly thought samples would settle this. They didn’t. A floor can look great in your hand and still feel completely wrong once it sits next to your walls, sofa, windows, and daylight. What finally helped was using AI to preview hardwood and laminate in the same room photo, with everything else locked. That made the choice much less abstract, and way less expensive to get wrong.
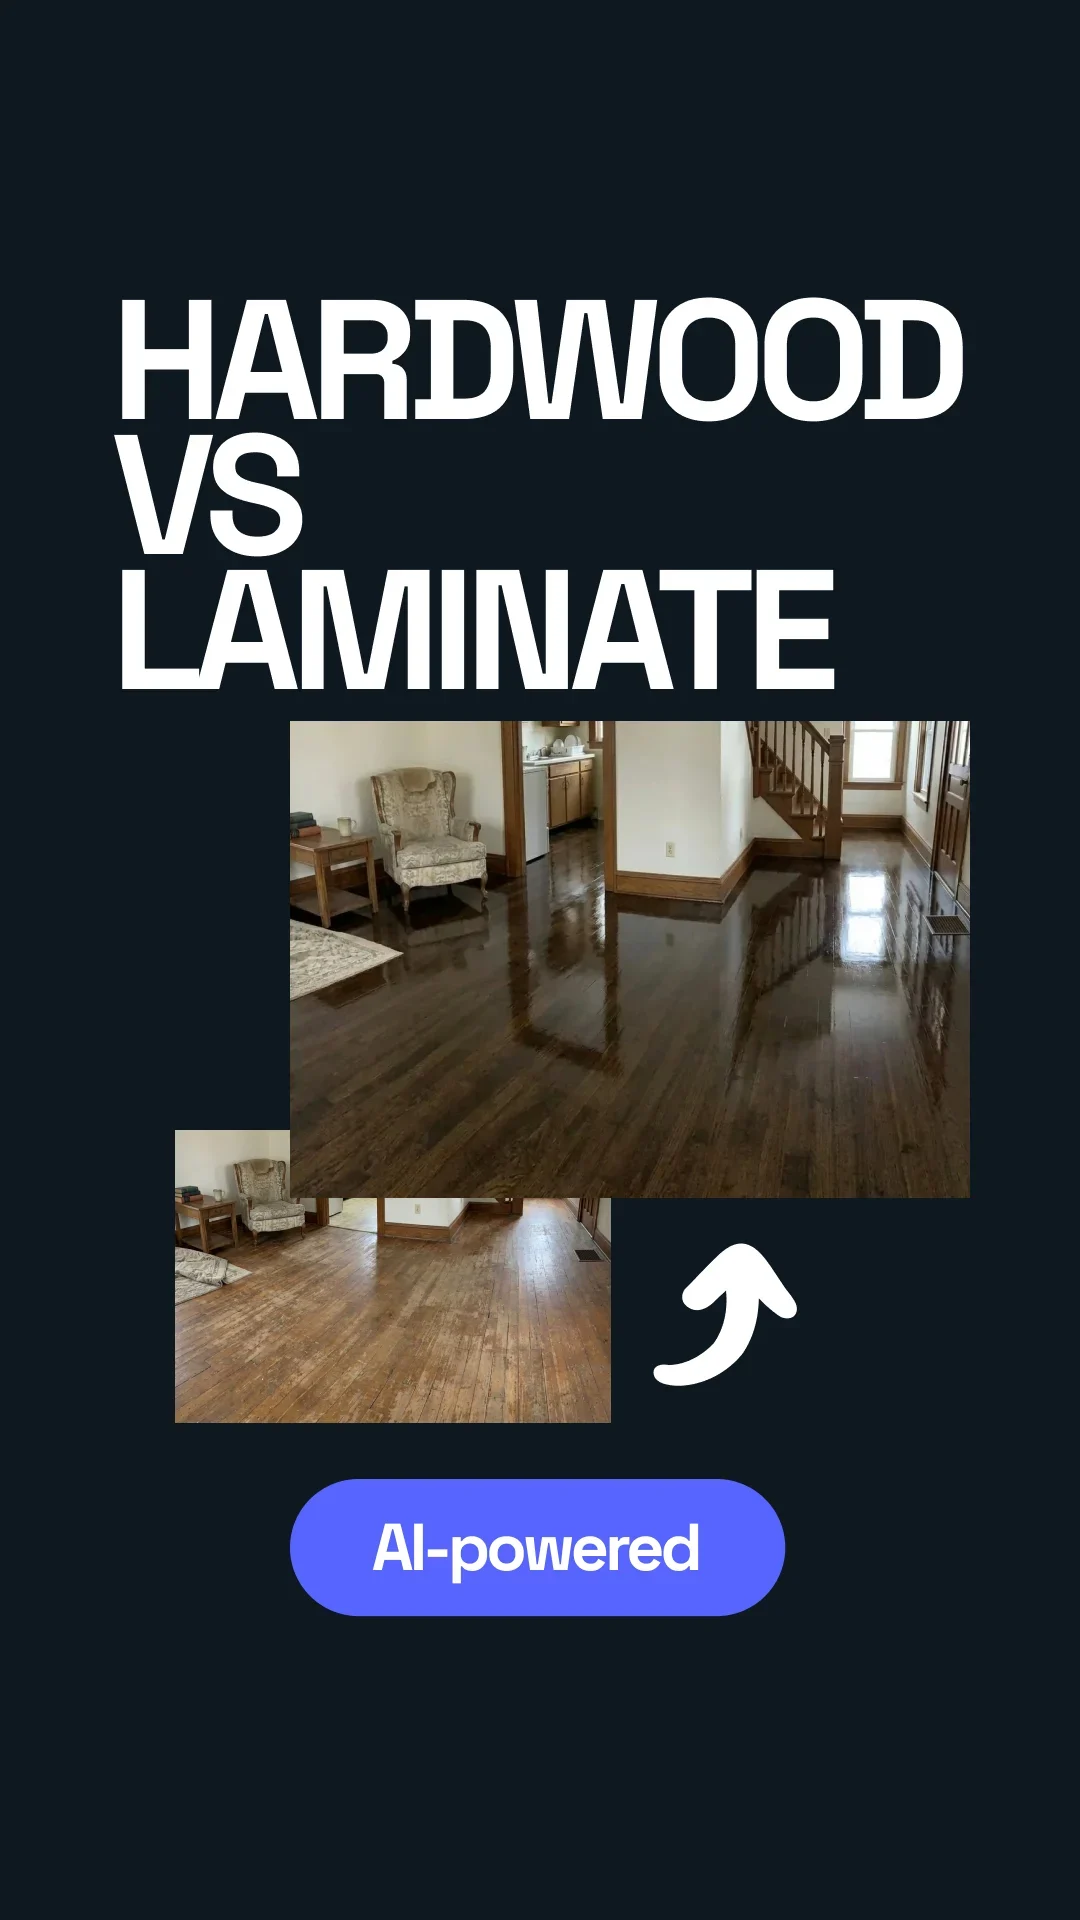


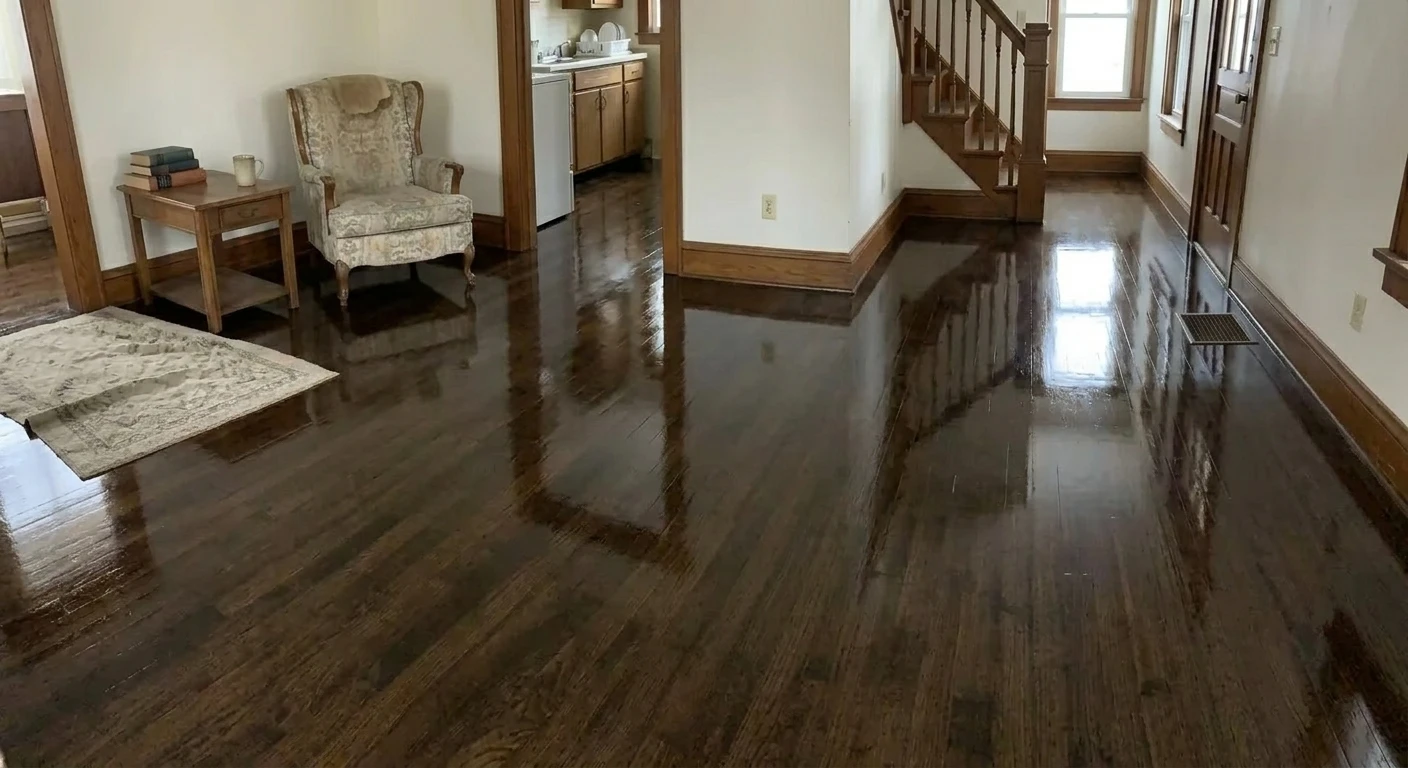
Transformed with AI by Uniify
AI helps most when the real question is: what will this look like in my room?
This only clicked for me once I stopped looking at flooring as a sample and started looking at it as room weight. A dark floor that felt rich in a store made one room feel smaller at home. A lighter laminate I almost dismissed made the whole space feel easier and brighter once I saw it under the actual daylight.
What AI did well was not “pick the best floor.” It let me run controlled visual tests. Same room, same furniture, same light, same camera angle — just a different floor. Once I treated it that way, the comparison stopped feeling like guesswork.
Room photo → clean baseline → hardwood version → laminate version → side-by-side check → shortlist → real product check
What AI is surprisingly good at
- Tone: light, medium, dark, warm, cool
- Plank width and direction
- Shine level: matte, satin, glossy
- Whether the room feels heavier or more open
- How the floor sits with walls, furniture, and daylight
What it still cannot tell you
- Subfloor problems or moisture risk
- Warranty fine print
- Noise and acoustic performance
- Whether one exact product works for kitchens or radiant heat
- Exact wear-layer, core, or emissions details
Hardwood vs laminate: the render helps, but the build still matters
One mistake I made early was treating “hardwood” like it was one simple thing. It usually isn’t. In real projects you’re often looking at solid wood or engineered wood, both with a real wood surface. Solid wood can usually be sanded and refinished several times over its life. With engineered wood, that depends a lot on the thickness of the top layer.[3][4]
Laminate fooled me more than once in previews because the good stuff can look very convincing now. But it is built differently. NALFA describes laminate as a layered product with a decorative image and a tough wear surface. It is made to handle scratches, dents, and fading, but you are not sanding and refinishing it later.[1]
Hardwood
- Real wood surface with natural variation
- Can be renewed by refinishing, depending on construction
- Usually picked for authenticity and long-term appeal
- More sensitive to moisture, spec choice, and install quality
Laminate
- Wood-look surface, not solid wood construction
- Good day-to-day resistance to scratches, dents, and fading
- Often strong on value and easy upkeep
- Damaged boards are usually replaced, not refinished
One of the biggest traps here is liking the “hardwood look” in a render and instantly assuming you need actual hardwood. Sometimes the right answer is solid wood. Sometimes it is engineered wood. Sometimes it is a laminate that gets visually close enough that the extra spend stops making sense. Separate the look decision from the build decision. That is where the smart choice usually shows up.
Use one-variable testing, or the comparison falls apart
This was my first real mistake. I changed the floor, then also tweaked the paint, warmed the light, moved a rug, and let the AI restyle part of the room. The images looked nice, but they were useless. I was no longer comparing flooring. I was comparing three different moods.
The rule I ended up using: freeze the room, then change only the flooring material, tone, finish, or plank format. One variable at a time is boring, but it works.
Good test
Dark walnut hardwood vs light oak laminate, same room, same daylight, same furniture, same wall color.
Bad test
Hardwood plus warmer lighting plus fresh paint vs laminate plus different styling and a moved rug.
The step-by-step AI workflow that finally gave me usable answers
1. Start with the right photo
My first photo was too wide, too dark, and half the floor was hidden. The render looked fake. The better photo was boring in the best way: straight-on, bright, and with enough floor showing.
2. Generate a clean baseline
Before testing anything, make one plain version of the room. That gives you something stable to compare against when the floor starts changing.
3. Replace only the floor
Keep the furniture, wall color, daylight, and layout fixed. If the tool starts repainting walls or shifting objects, tighten the prompt and run it again.
4. Test specific variants
Do not stop at “hardwood” and “laminate.” Compare actual looks: matte white oak, medium-tone engineered oak, warm walnut laminate, gray laminate, wide planks, low sheen.
5. Review through three lenses
I checked every version the same way: does it suit the room, does it still feel worth the money, and would I actually like living with it every day?
6. Refine the winner
The best result usually did not happen on the first try. It showed up after small fixes like warmer tone, less shine, wider planks, or a grain that looked less fake.
Keep fixed: furniture, wall color, room layout, daylight, camera angle, rug position.
Change only: material type, tone, plank width, sheen, grain visibility.
Prompt templates that gave me cleaner, more believable renders
The difference between a useful render and nonsense was usually one sentence: tell the model exactly what to change, and exactly what must stay untouched. That second part matters more than most people think.
This works especially well in a product like Uniify, where you can keep the room structure stable and test several flooring directions fast. That matters because once the scene starts drifting, the comparison stops being honest.
How I learned to read the renders without fooling myself
1. Spatial effect
The first thing I looked for was simple: did the room relax or tighten up? Some floors made the space feel brighter and calmer. Others made it feel heavier right away.
2. Contrast level
Then I checked the contrast against the walls and furniture. Strong contrast can look expensive, but it can also make a small room feel busier than it needs to be.
3. Surface behavior
Shine matters more than people expect. Glossy floors bounce light and can look sharp in a render, but matte and low-sheen finishes usually felt easier to live with.
4. Budget honesty
The useful question was never “Which is better?” It was “Does the cheaper option get close enough in this exact room that I stop caring about the difference?”

The mistakes that made my comparisons worse, not better
Changing too many variables
This is the fastest way to ruin the test. If the floor, paint, lighting, and styling all change together, you learn almost nothing.
Using vague instructions
Prompts like “make it nicer” gave me random results. Flooring comparisons need plain, controlled language.
Trusting the first render
My first output was almost never the one to trust. Plank direction, edges, or reflections were usually a little off.
Ignoring maintenance reality
Some renders looked great until I remembered real life. Dark floors show dust. High sheen shows scratches. A pretty image can still be a bad daily choice.
Confusing look with spec
AI can show two products looking close. It cannot tell you whether they have the same moisture limits, warranty terms, or install requirements.
Using a bad source photo
A dark, cropped, cluttered photo makes the tool guess too much. Better input gave me dramatically better output.
Where this method helps the most — and where it starts to wobble
This works best when the room is basically set and you are trying to sort out tone, finish, and price comfort, not solve a construction problem.
Excellent fit
- Living rooms with changing daylight
- Bedrooms where tone affects how calm the space feels
- Home offices where glare and brightness matter
- Dining spaces where contrast changes the mood
- Apartments where every visual move affects perceived size
Less reliable
- Rooms with barely any visible floor
- Photos buried under rugs or deep shadows
- Decisions driven mostly by construction limits
- Projects where technical compliance matters more than looks
What I checked after AI helped me pick a direction
Once I had a winner on screen, the job changed. At that point it was not about vibes anymore. It was about specs, labels, and whether the real product actually matched the image.
For hardwood
- Confirm whether it is solid or engineered
- Check top-layer thickness if refinishing matters
- Review moisture and installation guidance
- Make sure the sheen you liked in the render actually exists
For laminate
- Check the exact surface rating and replacement policy
- Review subfloor and installation requirements
- Confirm moisture limits room by room
- Make sure the real print and texture are close enough to the render
In the U.S., composite wood products and finished goods containing them are subject to EPA formaldehyde emission rules, and regulated products sold after March 22, 2019 must be labeled TSCA Title VI compliant.[5] That will not tell you which floor looks best, but it is exactly the kind of boring detail worth checking once you move from render to real purchase.
Best practice: let AI kill the bad directions early, then confirm the shortlist with the spec sheet, a real sample, and your installer.
The main thing AI did for me was make the choice less vague
For me, the hard part was never understanding the textbook difference between hardwood and laminate. It was seeing which one actually made the room feel right without spending more than I needed to.
That is the real use here: keep the room fixed, test one flooring variable at a time, and then take the winning direction into real sample checks and spec sheets. AI will not replace judgment, but it can stop you from guessing.
Frequently asked questions
Can AI really show the difference between hardwood and laminate flooring?
Yes, for the visual side of the decision. It is very good at showing tone, plank width, sheen, and the way a floor changes the mood of a room. It is not a substitute for checking the real product specs.
What kind of photo gives the best result?
A straight, well-lit photo with enough floor showing. The less the AI has to guess, the more believable the result usually is.
Should I compare only one hardwood and one laminate option?
No. Compare a few specific looks inside each category. In practice, the useful question is often something like “engineered white oak vs warm walnut laminate,” not just “hardwood vs laminate.”
Can AI tell me which product is best for pets, moisture, or radiant heat?
No. That part still comes from the manufacturer specs, warranty language, and installer guidance. AI helps you choose the look first.
What should I do after I pick the best render?
Shortlist the closest real products, check the construction details, verify the labels and warranty terms, and order a sample before you commit.
- North American Laminate Flooring Association (NALFA), What is Laminate? Used for laminate construction, durability, and maintenance statements.
- North American Laminate Flooring Association (NALFA), Laminate Flooring FAQs. Used for the point that laminate installation suitability depends on proper subfloor support and product guidance.
- National Wood Flooring Association (NWFA), Consumer Outreach Toolkit. Used for statements about wood floors being sanded and refinished several times and their long service life.
- National Wood Flooring Association (NWFA), Refinishable Program, plus Solid Wood Flooring EPD. Used for engineered wear-layer nuance and solid wood refinishing potential.
- U.S. Environmental Protection Agency, Formaldehyde Emission Standards for Composite Wood Products. Used for TSCA Title VI compliance guidance for regulated composite wood products in the U.S.
- National Wood Flooring Association (NWFA), Technical Guidelines & Publications. Used for the point that installation and product suitability require standards-based technical verification beyond visual preference.
- Hero image source: Wikimedia Commons — “Wood flooring made of hickory wood” by Loadmaster (David R. Tribble), licensed CC BY-SA 3.0 / GFDL.
- Inline image source: Wikimedia Commons — “Oak flooring” by Kevin Payravi, licensed CC BY-SA 4.0.

