Real-world AI interior test
I Tried an AI Curtain Visualizer on My Own Window. Here’s What Actually Helped.
I didn’t use it because I love decorating apps. I used it because I was tired of guessing, opening twenty tabs, and still not knowing whether my room needed light linen, heavier drapes, or nothing dramatic at all.
The useful part was not “wow, AI added curtains.” The useful part was seeing my own mistakes faster: bad photos, vague prompts, fake-looking fabric, wrong proportions, and a lot of wishful thinking.


Transformed with AI by Uniify
I tried an AI curtain visualizer because I couldn’t tell, from product photos alone, whether my room wanted soft linen, thicker blackout panels, or just a lighter touch. It turned out to be useful, but only after I stopped treating it like a magic answer machine.
Why I tried it in the first place
I was already deep in the usual loop: save a few curtain options, compare colors at night, compare them again in daylight, then get even less certain. On a shopping site, almost every curtain looks good. In a real room, that same curtain can look too heavy, too shiny, too yellow, too flat, or weirdly formal.
What pushed me over the edge was proportion. I knew the window looked a bit awkward, but I couldn’t tell whether that was a curtain problem, a rod-height problem, or just me staring at it for too long. So I uploaded a photo and thought, fine, let the AI show me something.
The first bad result
I messed it up almost immediately. The photo was too dark. I had taken it quickly, slightly from the side, with the window brighter than the room. Then I gave the world’s least helpful prompt: add nice curtains.
The result looked expensive and completely wrong. The AI gave me giant dramatic drapes with hotel-lobby energy. The room looked taller, yes, but also like it belonged to somebody else. It also quietly changed a few things I did not ask it to change, which made the whole thing feel more convincing than it actually was.
What I did wrong
- Used a dark, angled photo.
- Did not show enough wall and floor around the window.
- Asked for “nice curtains,” which means nothing.
- Let the AI redesign the mood instead of just testing curtains.
What that taught me
- A pretty render is not the same as a useful render.
- The tool needs context around the window.
- You have to say what should stay unchanged.
- Bad input creates very confident nonsense.
What started working
The next time, I used a straight photo in more even light. I made sure the whole window was visible, plus some wall, floor, and the edge of nearby furniture. That alone made the mockups calmer and more believable.
I also stopped asking for “the best” curtain and started asking for different directions. One light linen option. One heavier option. One layered option. That changed the whole exercise. Suddenly I was not waiting for the AI to decide for me. I was comparing trade-offs.
Better photo → specific prompt → 2–3 clear directions → notice what feels off → refine once → measure in real life
And this is where the practical conclusion showed up before any big insight did: I did not need a perfect render. I needed a fast way to rule things out. That alone saved me time.
The prompt that stopped the AI from freelancing
I honestly expected the hard part to be choosing the fabric. It wasn’t. The hard part was stopping the model from getting “creative” with everything else in the room.
The fix was simple: I started writing prompts that boxed it in. Not clever prompts. Just clear ones.
The format that gave me the cleanest results
Add curtains to this window only. Keep the room unchanged. Use [fabric] in [color], with [length] panels and a [mood] look. Show realistic proportions and do not change the wall color, furniture, or window shape.
Prompt I’d use for a softer look
Add curtains to this window only. Keep the room unchanged. Use off-white linen, floor-length, with soft folds and a light relaxed feel. Keep it simple and realistic.
Prompt I’d use for privacy
Add curtains to this window only. Keep the room unchanged. Use warm beige blackout panels, full length, slightly wider than the frame, with a calm modern look.
Prompt I’d use to compare layers
Add two curtain layers to this window only. Keep the room unchanged. Use sheer white inner panels and taupe outer blackout drapes with realistic proportions.
Simple expectation that turned out to be true: if I told the AI exactly what not to touch, the result was usually much more useful.
What I compare now
I used to look at one render and ask, “Do I like it?” That was too fuzzy. Now I look for a few specific things.
Weight
Does the fabric make the room feel softer, or does it suddenly feel heavy and a bit trapped?
Length
Do floor-length panels make the room feel taller, or do they crowd a small window and pull too much attention?
Color
Is the curtain color helping the wall, floor, and sofa work together, or is it fighting everything quietly?
Function
Do I actually need privacy, glare control, or blackout performance, or am I chasing a look that will annoy me later?
The mistake I repeated
I kept getting drawn to the most dramatic version first. Darker, fuller, richer. It looked impressive in the render and slightly oppressive when I imagined living with it every day.
The main insight
The best curtain option was usually not the most dramatic one. It was the one that made the window feel more settled without shouting over the room.
That led to another practical conclusion: I now always compare at least three versions on the same photo — something light, something heavier, and one layered setup. It is the fastest way to notice what the room actually wants.
Where it still falls apart
I also need to be honest about where this gets shaky. AI is great at “show me the vibe.” It is much less reliable at “show me the exact buildable answer.”
I learned that the hard way when I started trusting the spacing too much. The render made the curtain break on the floor look perfect. In real life, that depends on real rod height, real ceiling height, real trim, real fabric behavior, and not on whatever fantasy geometry the model invented.
It gets risky when
- The window is arched, bay-shaped, extra wide, or in a corner.
- The glass is reflective or the room lighting is mixed.
- You want patterned fabric or specialty hardware.
- You need exact fabrication details.
I still use it anyway, but like this
- For direction, not final approval.
- For color and mood, not millimeter accuracy.
- To narrow the field before measuring.
- To show a style idea before buying samples.
One more repeated mistake: I kept wanting the first decent result to be the answer. Usually it was just the start of the answer.
What I do before buying anything
By this point, the biggest insight for me was pretty simple: AI is a filter, not a finish line.
It helps me get from “I have no idea” to “I probably want this kind of fabric, this kind of length, and this general mood.” After that, the boring real-world stuff matters more: rod width, mount height, finished length, stack-back, privacy, lining, and how much light I actually want to block.
I use the mockup for
- Choosing the overall look.
- Comparing linen, heavier drape, or layered options.
- Seeing whether the window wants to feel taller or lighter.
- Checking whether the color sits well in the room.
I do not use the mockup for
- Final measurements.
- Exact fullness calculations.
- Hardware specs.
- Assuming the rendered proportions are real.
Uniify.Space makes sense at exactly this point in the process: when you have a real room photo, a real decision to make, and you want to test a few believable directions before spending money. That is where a tool like this earns its keep.
I’ll put it this way: I went in hoping the AI would tell me what curtains to buy. That was the slightly silly part. What it actually did was better. It helped me notice what felt wrong much faster.
And weirdly, that was enough. Once the obviously wrong options were gone, the room got easier to read.
FAQ
Does an AI curtain visualizer really help?
Yes, but mostly for direction. It is good at showing mood, weight, color, and general proportion on your real window. It is not a replacement for real measuring.
What is the biggest mistake people make?
Usually a bad photo or a vague prompt. A dark angled image plus “add nice curtains” gives you a very confident but not very useful result.
What should I ask the AI to do?
Keep it narrow. Ask it to change the curtains only, keep the room unchanged, and specify fabric, color, length, and mood.
Can I order curtains from the mockup alone?
No. Use the mockup to choose the look. Use real measurements and a proper measuring guide before you buy.
References and image credits
- Uniify.Space, official product page. Used for product positioning and workflow references around photo-first room visualization.
- The Shade Store, “How to Measure for Curtains in 5 Steps.” Used for measurement handoff topics including rod width, mount type, panel coverage, and stack-back.
- The Shade Store, “How to Install Curtain Rods: Best Practices.” Used for practical hanging guidance.
- Pottery Barn, “Installation Tips.” Used for real-world rod placement and extension guidance.
- Pottery Barn, “How to Install Drapes.” Used for common hanging-height and length guidance.
- Hunter Douglas, “Window Shade Opacities Explained.” Used for privacy and light-control differences between sheer, opaque, and blackout categories.
- Hunter Douglas, “Blocking Light from the Sides of Blinds or Shades.” Used for the point that overlap matters when light control matters.
- Hunter Douglas, “Blackout Shades – Room Darkening Blinds.” Used for blackout and room-darkening references.
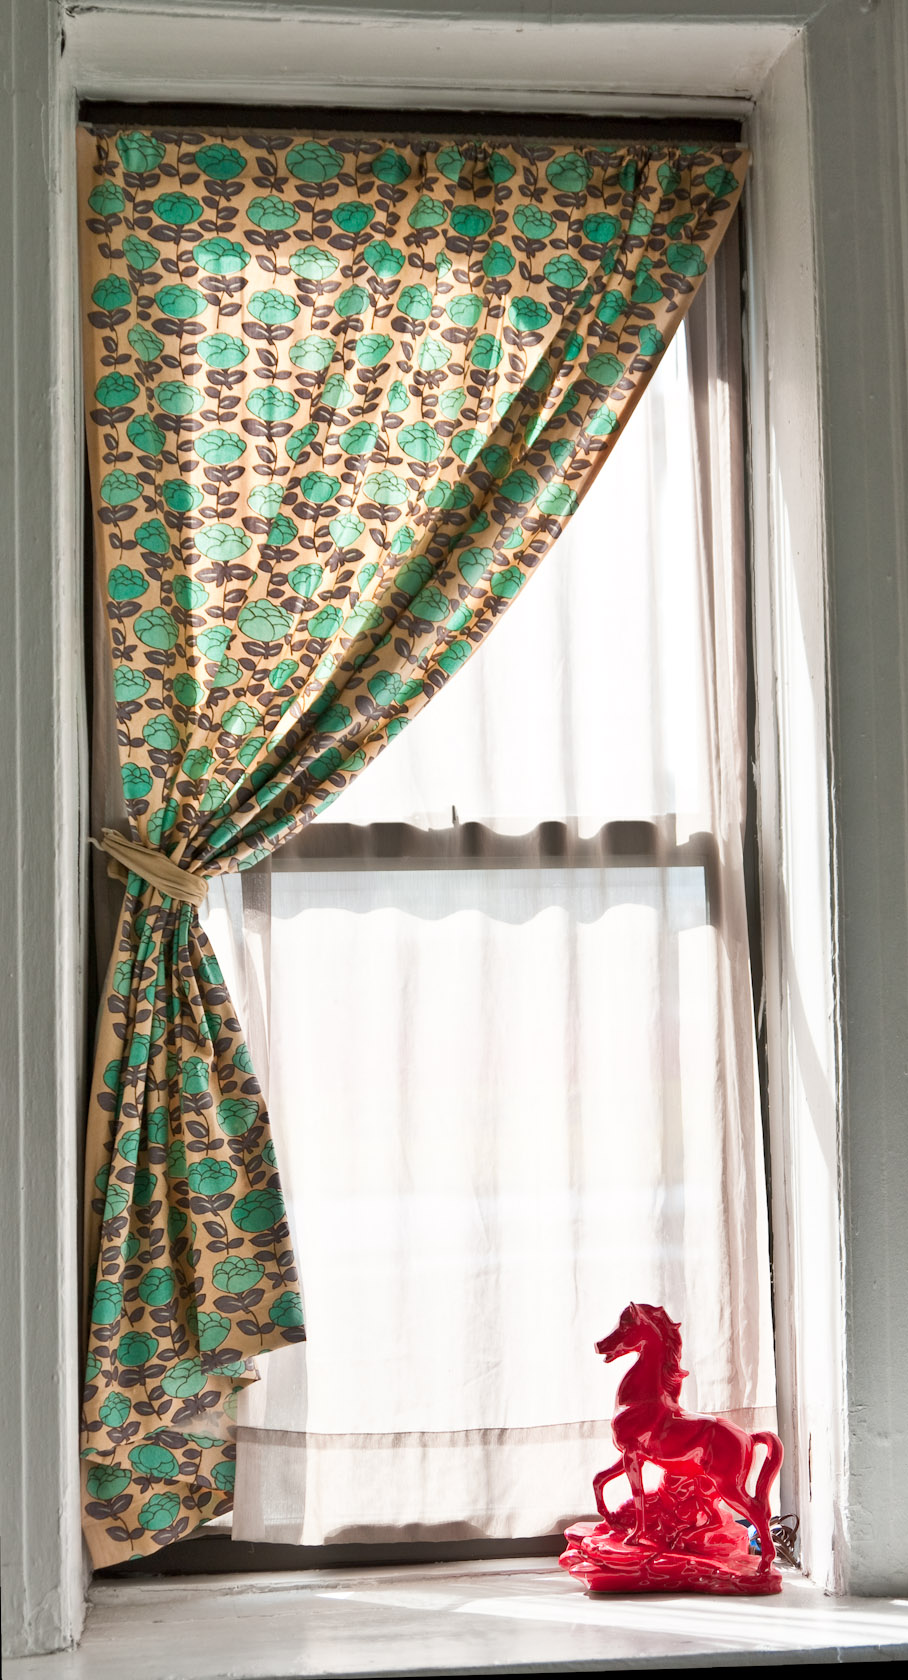
- Andy Butkaj, Window with transluscent curtains, via Wikimedia Commons, licensed CC BY 2.0. Embedded in hero image.
- Dan DeLuca, Single curtain, via Wikimedia Commons, licensed CC BY 2.0. Embedded as secondary editorial image.
Plain-English editorial note: use AI to get clear on the look. Use real measurements to get the install right.