
Bathroom Renovation Planning
AI Bathroom Tile Design: How to Preview New Tiles Before You Renovate
I started using AI for tile planning after wasting too much time on samples that looked good in the shop and wrong the second I brought them home. In my bathroom, the light was harsher, the grout looked heavier, and one “safe” tile somehow made the room feel smaller. Seeing ideas inside the real room was the first thing that actually helped.
This is the version I wish I had earlier: how to take a photo the tool can really use, what prompts stopped giving me fake-looking bathrooms, where I got fooled by shiny renders, and what still had to be checked in the real world before buying a single box of tile.
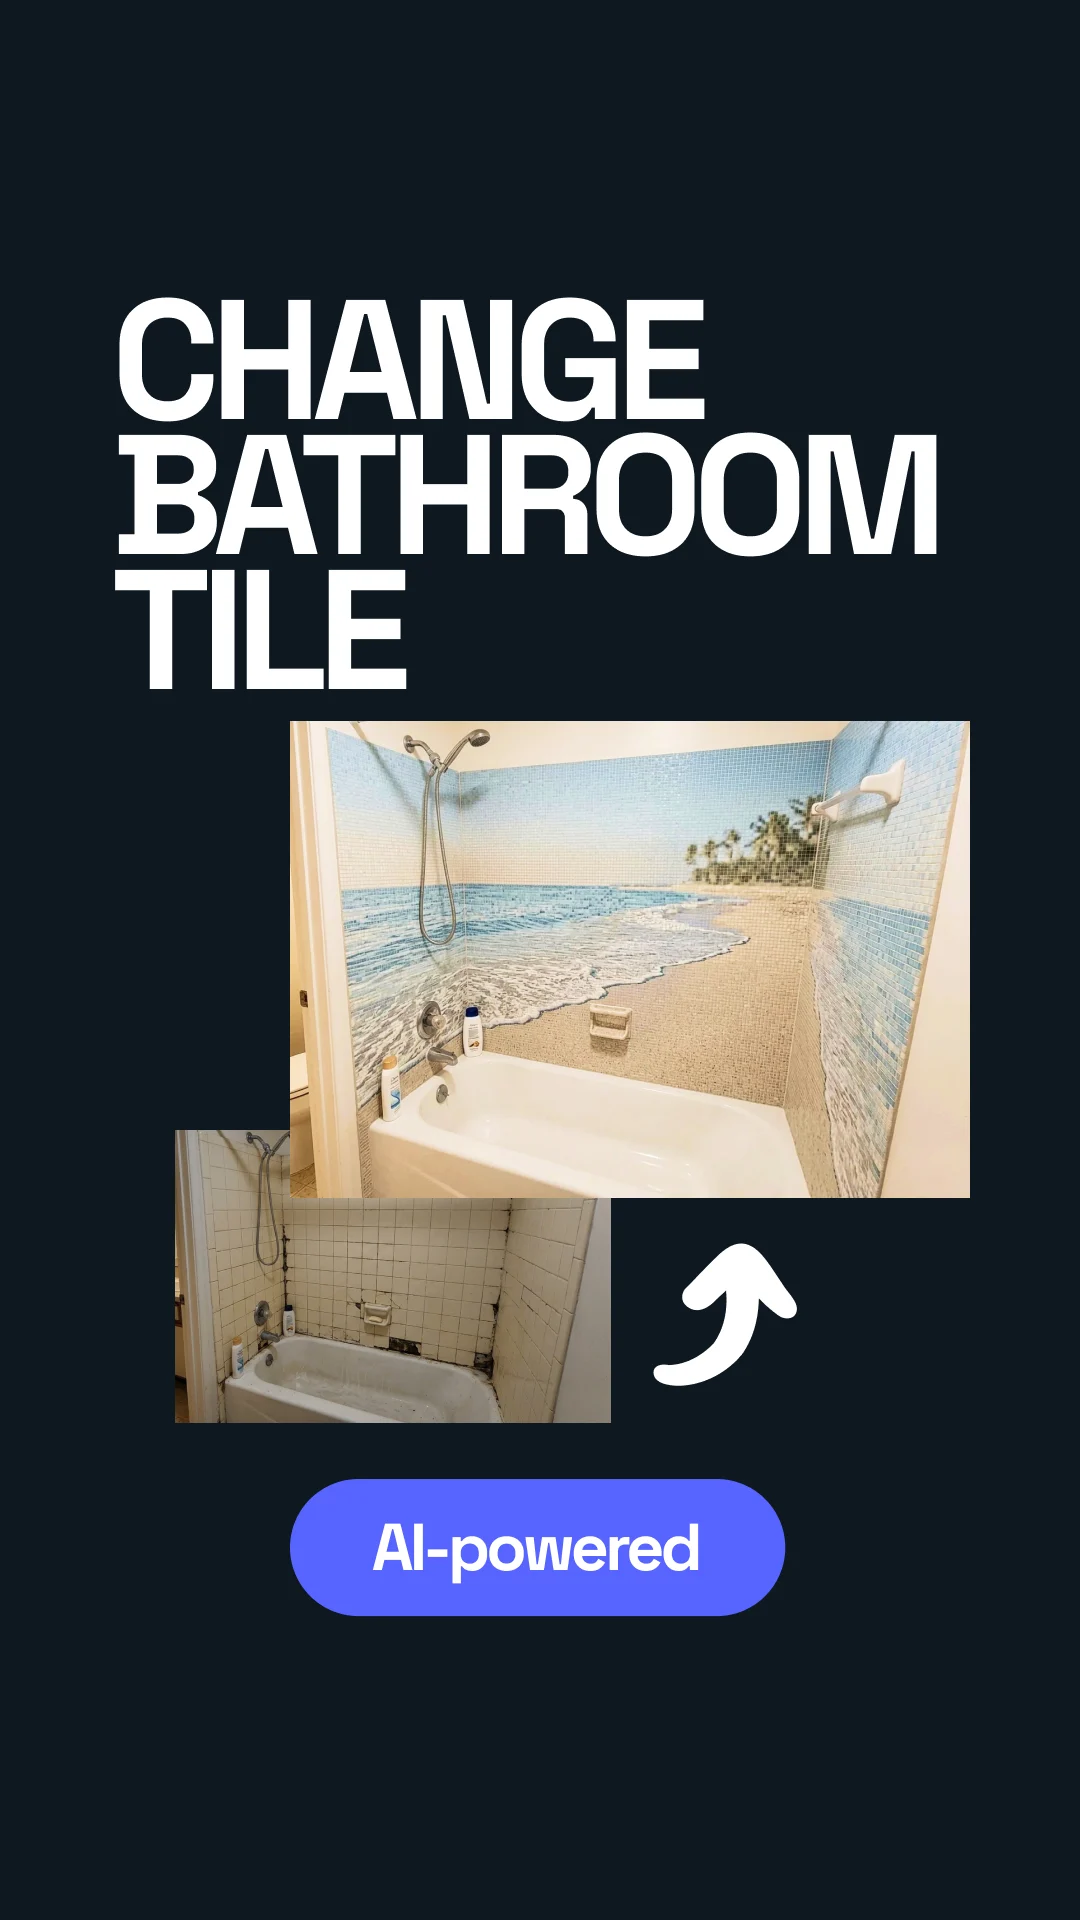


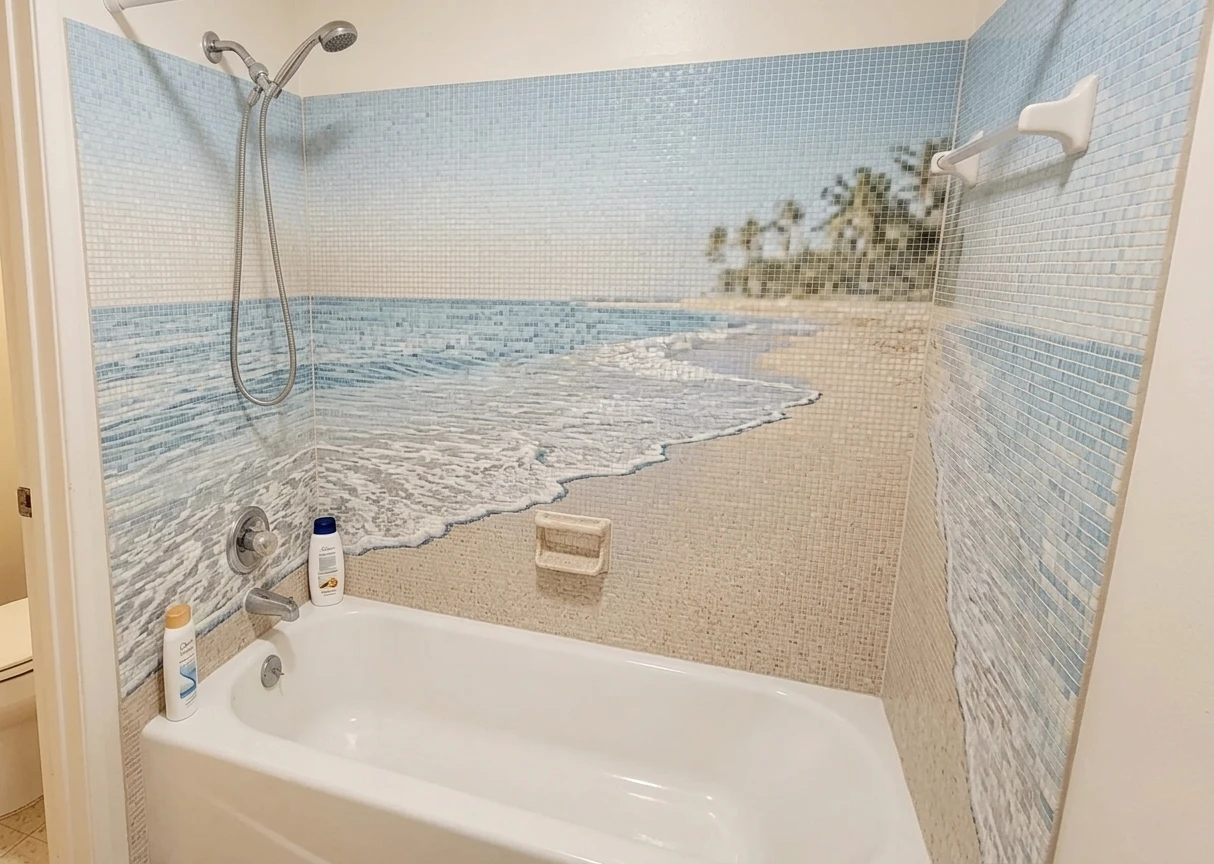
Transformed with AI by Uniify
Why AI tile previews matter
The big thing I got wrong at first was trusting loose tile samples too much. A sample board cannot show you how that tile will feel next to your mirror, vanity, shower glass, or the weird light your bathroom gets at 7 a.m. AI got useful for me only when I stopped asking for “something nice” and started testing ideas inside my actual room.
Use your real room. My results got better the moment I stopped generating random dream bathrooms and uploaded the room I really had.
Change one thing at a time. When I asked for new tile, a new vanity, new lighting, and new decor all at once, I could not tell what was actually working.
Treat the image like a draft. It is great for direction. It is not a promise about cost, waterproofing, stock, or install.
The real win was not getting a perfect image. It was killing bad ideas early. That saved time, money, and a lot of back-and-forth when I had to explain what I was trying to do.
The right expectation: AI is great at helping you see mood, color, scale, and finish in your own space. It still cannot replace product checks, samples, or a person who knows how bathrooms are actually built.
How the workflow works
After a few messy tries, I realized the workflow is simple in a boring but useful way: take one clean photo, tell the AI what must stay, and ask for a few controlled versions instead of one magic makeover.
Get one clear photo with the main tiled areas in view.
Say what cannot move: layout, plumbing, vanity, mirror, shower screen.
Name the tile type, finish, color direction, and the mood you want.
Run a few versions side by side: safe, bold, budget, and premium.
Check slip, cleaning, waterproofing, labor, and whether the product even exists.
Best operating principle: tell the AI to keep the room and change the finish. The less it invents, the more useful the result usually is.
Step-by-step: from room photo to tile shortlist
1) Take a usable bathroom photo
My worst results came from bad photos. One was dark, one was crooked, and one had so much clutter the AI started making strange guesses. A clean, bright, straight photo fixes half the problem.
- Clear away towels, bottles, laundry, and random countertop stuff.
- Show the biggest tile surfaces you can, even if the room is small.
- Keep the image sharp and avoid heavy glare on mirrors or glass.
2) Upload to a photo-based design tool
Text-only tools kept moving my walls, changing the shower shape, and inventing details that were never there. Photo-based redesign worked better because it kept the room believable.
- Lock the layout.
- Keep plumbing positions fixed.
- Say clearly which fixtures stay.
3) Give a detailed design brief
I used to type “make it modern” and then wonder why the result felt random. Better prompts are plain and specific. Say what tile you want, where it goes, and what not to touch.
- Style: coastal, Japandi, spa, minimalist, Mediterranean
- Tile: subway, mosaic, terrazzo-look, large-format porcelain, marble-look
- Finish: matte, glossy, textured
- Constraints: keep vanity, no layout changes, walls only
4) Generate multiple controlled variants
I stopped asking for one perfect answer. What helped more was a small set I could compare without getting lost.
- one safe option
- one feature-wall option
- one budget-minded option
- one premium option
- one resale-safe option
This is where I learned not to pick the prettiest render. I started asking boring questions instead: Will this grout annoy me? Does this glossy wall only look good because the render lighting is fake? Will this pattern still feel good after the first week of excitement is gone?
Prompt patterns that produce better results
The prompt shape that worked best for me was: room + change scope + tile language + mood + constraints. It sounds simple, but it stops the AI from redecorating the whole bathroom when all you wanted was to test tile.
Coastal refresh
Redesign this bathroom using light sand-colored wall tiles and a blue mosaic feature area behind the shower. Keep the layout, vanity, mirror, and plumbing unchanged. Make the room feel brighter and calm, like a simple beach hotel.
Modern small bathroom
Replace the current tiles with large-format matte porcelain in warm gray. Preserve the room layout and all fixtures. Keep the design minimal and make the space feel a bit bigger. Avoid busy patterns.
Budget upgrade
Show a low-cost bathroom tile update using standard ceramic tiles in neutral tones. Keep installation simple, avoid decorative transitions, and do not add high-maintenance materials.
Luxury spa look
Update the wall and floor surfaces with stone-look tile and a soft spa feel. Keep the bathtub and vanity. Use a calm palette, gentle contrast, and materials that still look believable in a normal home.
Feature wall test
Keep the bathroom mostly neutral and generate three versions of the wall behind the sink: one mosaic, one vertical subway tile, and one textured natural-look tile. Preserve all fixtures and layout.
Resale-safe version
Create a bathroom tile concept with broad resale appeal. Keep the layout, use light neutral tile, moderate contrast grout, and avoid strong trend-driven patterns.
Prompt rule that saves time: always say what must stay. “Keep vanity, mirror, shower hardware, plumbing positions, and layout unchanged” helped me more than adding extra style words.
How to compare tile directions without fooling yourself
This was the part where I kept getting tricked. AI can make almost any tile look good for one still image. The harder question is whether it still looks good once you think about scale, grout, cleaning, lighting, and install pain.
What AI is good at showing
- whether a lighter wall tile makes the room feel more open
- whether a feature wall adds interest or just noise
- how grout contrast changes the look of subway tile
- whether matte feels calmer than glossy in your room
- how the tile sits next to your real vanity, mirror, and fixtures
What AI cannot settle for you
- whether the floor is safe when wet
- how painful the pattern will be to cut and lay
- whether you will hate cleaning all that grout
- whether the waterproofing behind it is done right
- whether the exact product is in stock and within budget
Large-format porcelain
This ended up being the easiest win in a lot of mockups. Fewer grout lines, calmer look, and a small bathroom can feel less chopped up.
Subway tile
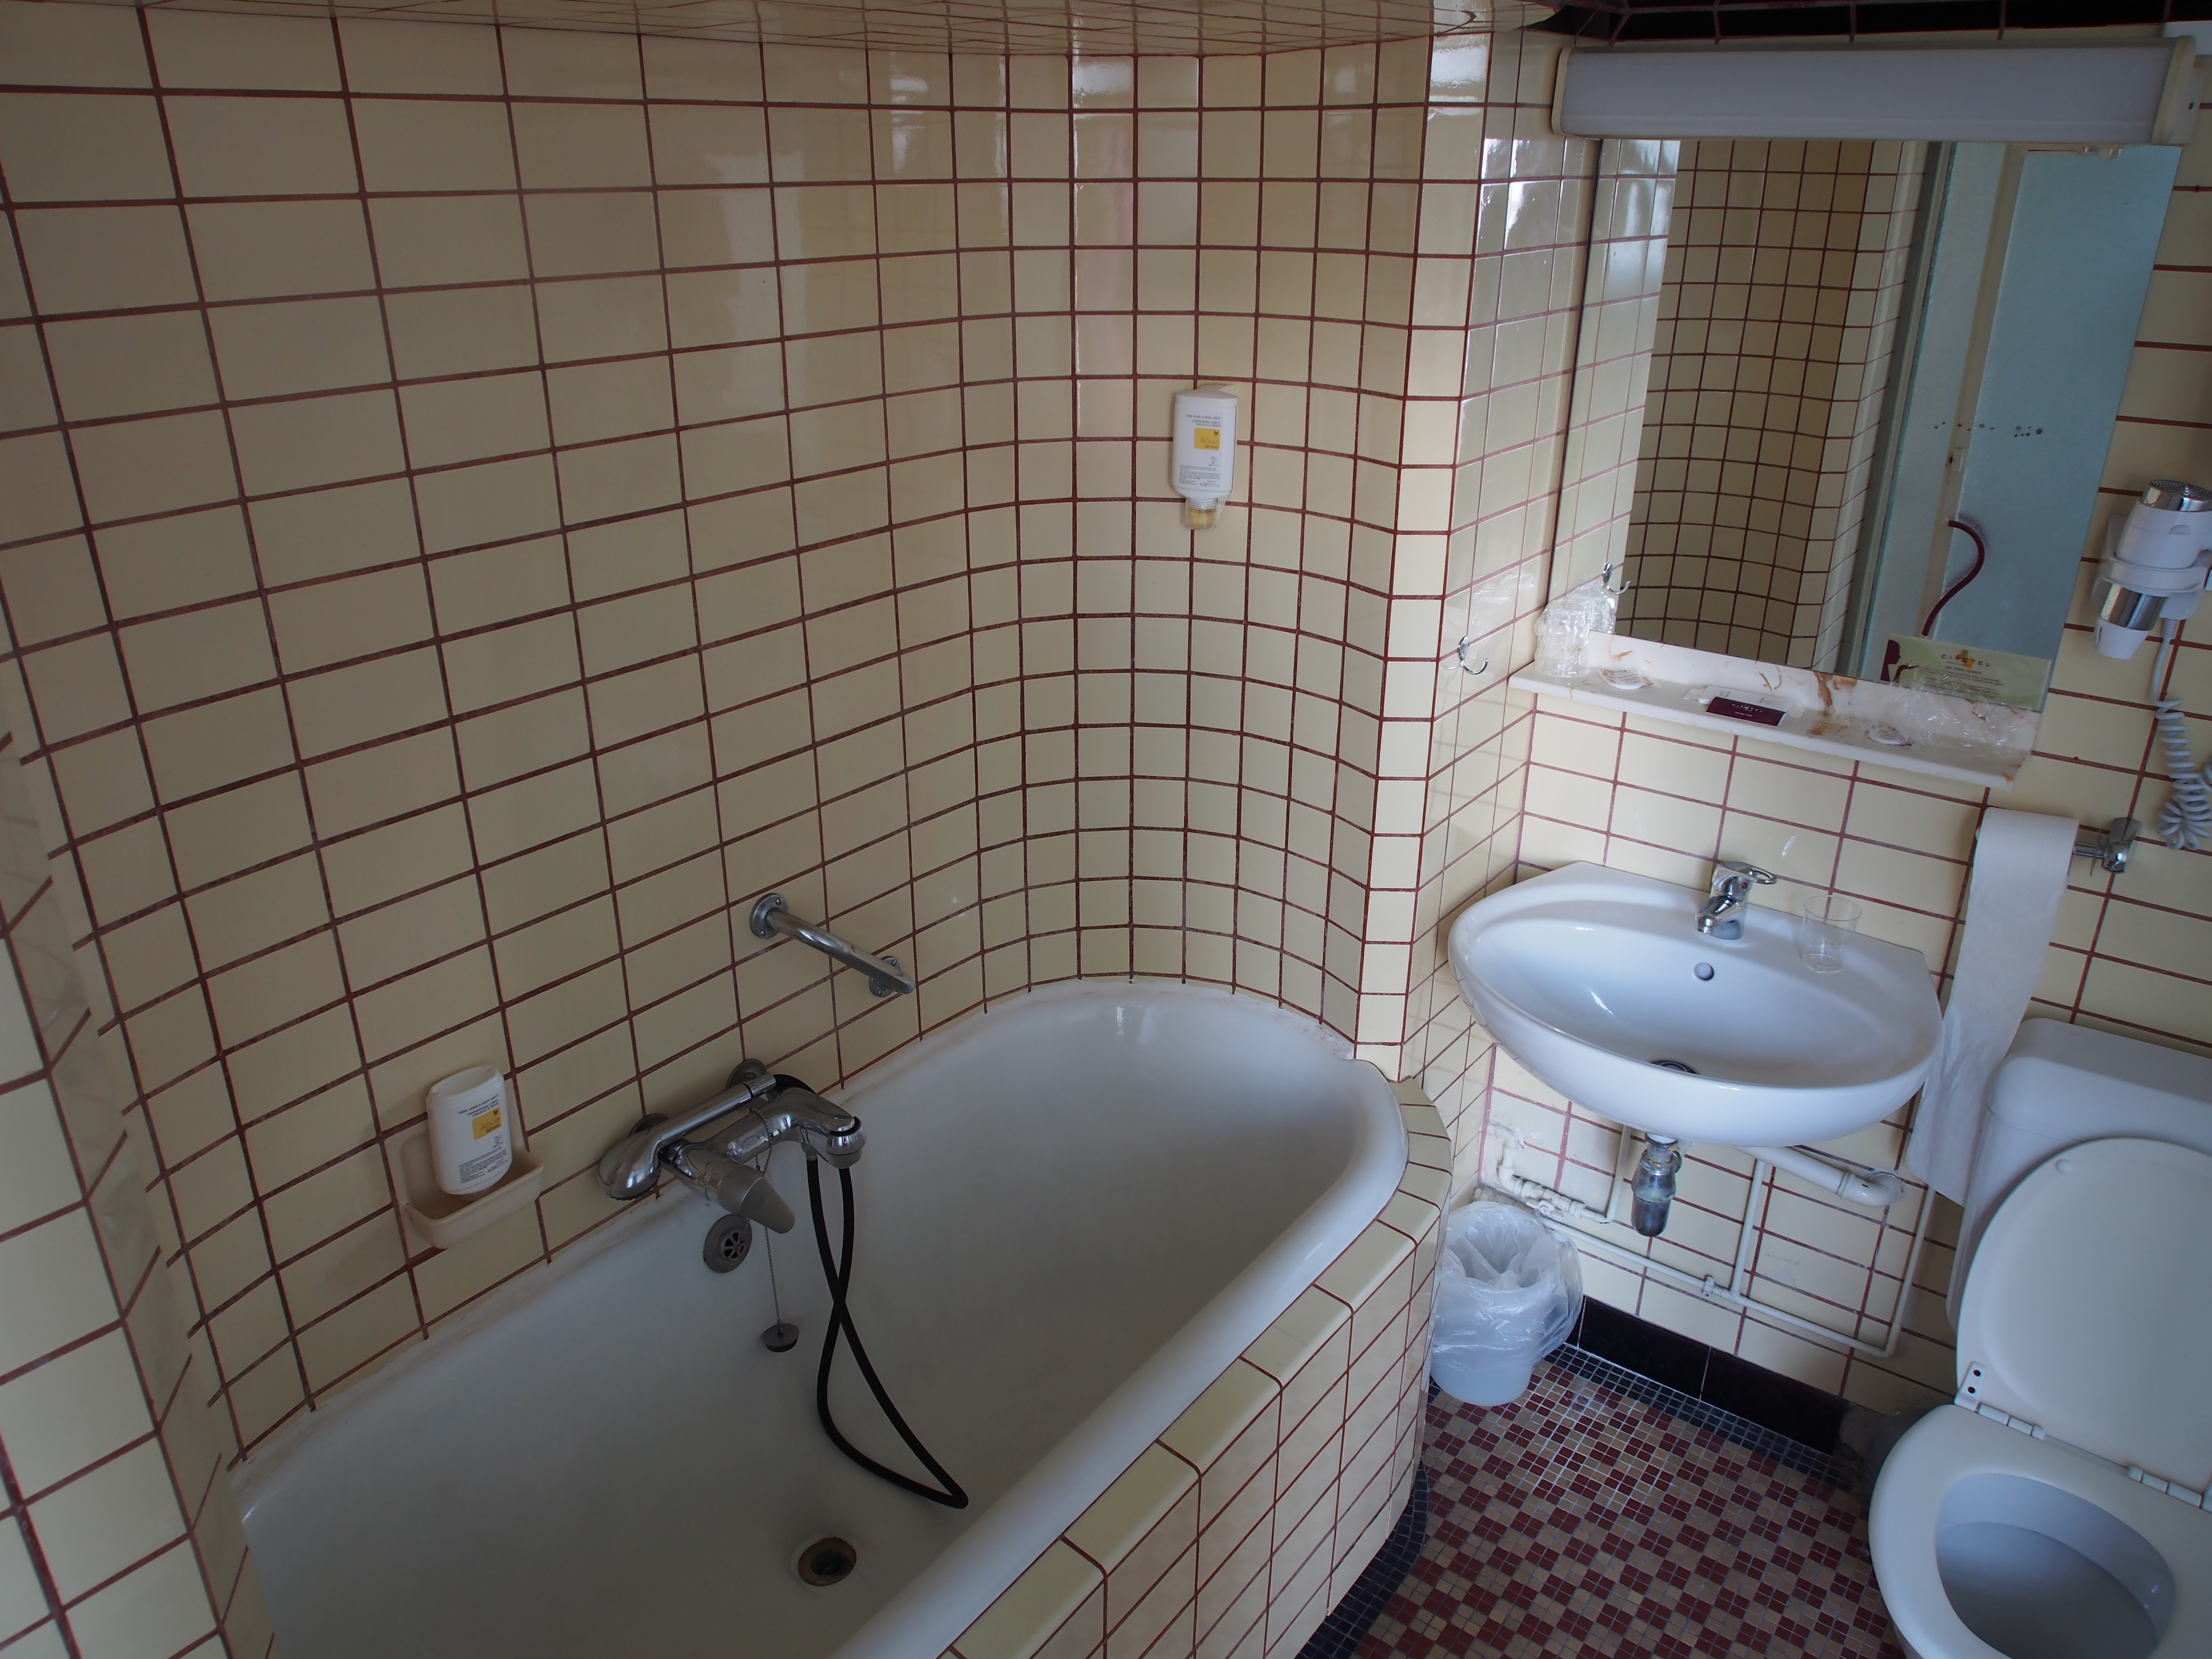
Still a solid option, but I learned fast that grout color and tile direction change the whole mood. The same tile can look clean or busy depending on those two choices.
Mosaic
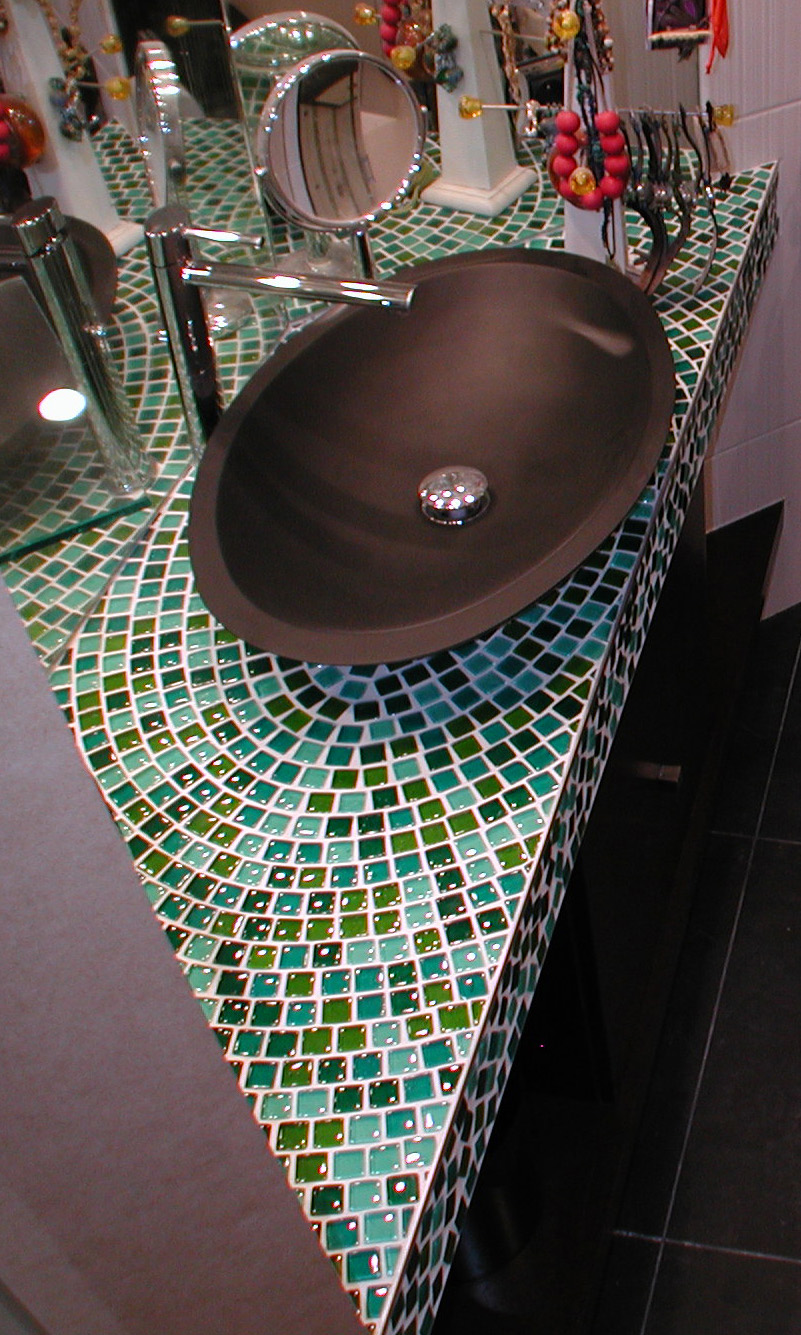
I love it in small doses. As a full-room move, it can get loud very quickly, especially in tight bathrooms with lots of lines already going on.


What to verify before buying tile
This is where the pretty part ends and the real decisions start. I made better choices once I stopped asking “Which image do I like most?” and started asking “What will this be like to live with?”
Water exposure
A nice tile image tells you nothing about the hidden layers. In showers and wet zones, the membrane, backer, drain details, and edges matter just as much.
Traction and floor safety
I had one render with a beautiful polished floor. It looked expensive. It also looked like a bad idea the second I imagined wet feet on it. Check the floor rating, not just the look.
Lighting and sheen
Glossy tile can look amazing in a render and then feel harsh in real bathroom lighting. Matte often reads softer, but you still need to see a sample in person.
Scale and grout load
Small tile gives you flexibility, but it also gives you more grout to clean. Large tile can calm a room down, but only if the cuts still make sense in the space.
Budget and labor
Some of my favorite AI images were the worst ideas once labor was part of the conversation. Fancy borders, tiny mosaics, and awkward transitions can eat a budget fast.
Product sampling
Physical samples still matter. AI helped me narrow the field, but the final call only felt real when I put the sample next to the vanity, paint, and hardware.
Smart rule for floor concepts: if the image only works because the floor is super shiny, slow down and check whether that finish makes sense for a wet bathroom.
Using Uniify for faster concept rounds
When I wanted quick comparison rounds without rebuilding everything from scratch, Uniify worked best when I treated it like a planning tool, not a toy. The goal was not to get one dramatic image. The goal was to get a few believable directions I could judge side by side.
Start narrow
Upload one clean room photo and begin with tile-only changes. That gives you a steady baseline before you touch mirrors, lights, or styling.
Branch deliberately
Run one safe idea, one stronger idea, and one budget version first. That usually tells you a lot before you go chasing edge-case looks.
Refine by constraint
Each next round should get tighter: keep fixtures, wall tile only, warmer tone, less contrast grout, fewer visual breaks.
A practical Uniify loop: upload photo → keep layout fixed → generate 3–5 focused options → shortlist → order samples → get installer input. That is the loop that kept me from mistaking a nice concept for a finished decision.
Frequently asked questions
Can AI accurately show how new bathroom tiles will look in my room?
Good enough to compare direction, yes. Good enough to skip samples and real checks, no. I would use it to narrow choices, not to make the final call on its own.
What type of photo gives the best bathroom tile redesign?
A bright, straight, uncluttered photo works best. The tool needs to clearly see the main tile areas, fixtures, and room shape.
Should I redesign the whole bathroom at once?
I would not. Start with tile only. Once the surface direction feels right, then test lighting, mirror changes, or styling in later rounds.
Is porcelain a better default than standard ceramic for bathrooms?
Often yes, especially when you want a dense, low-absorption tile. But the right choice still depends on where it is going and how the room is being used.
Can AI replace a contractor or tile installer?
No. It can help you see options. It cannot build the room, waterproof the shower, or tell you every install detail that matters.
How many concepts should I generate before choosing?
Three to five is usually enough. Less than that can feel too narrow. More than that can turn into endless tiny variations that do not help.
References and image rights
This version keeps the article structure the same, but rewrites the copy in a simpler, more human voice. The references below still support the real-world checks that matter after the AI mockups start looking good.
Technical references
- Tile Council of North America — Porcelain vs. Non-Porcelain
Useful for the basic difference between porcelain and non-porcelain tile, including water absorption. - Tile Council of North America — Dynamic Coefficient of Friction
Helpful when you need to sense-check floor safety for wet interior use. - NKBA — Bathroom Planning Guidelines
Good background for practical lighting and layout thinking in bathrooms. - Level.org.nz — Waterproofing tiled showers
A clear reminder that the tile face is only one part of a shower build. - Tile Council of North America — Showers FAQ
Useful for shower assembly basics, membranes, and compatible backing systems.
Embedded image attributions
- Small Bathroom Renovation in Wellington — Smtzzz — CC BY-SA 4.0
- Dual-head shower — andrechinn — CC BY 2.0
- Calcutta Marble — Mehulsey — CC BY-SA 3.0 / GFDL
- Sink - bathroom - mosaic glass — William Crochot — CC BY-SA 4.0
- Old bathroom with subway tiles — Alf van Beem — CC0 1.0
If you reuse the Creative Commons images, keep the attribution and any share-alike terms listed on the source page.